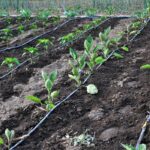
If you find watering your garden with a hose too tiring or are concerned about over- or under-watering your plants, then it’s time for you to install a drip irrigation system. This efficient and easy-to-install system will deliver water steadily and slowly to your plant roots and protect your garden from problems like puddling and soil erosion.
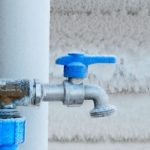
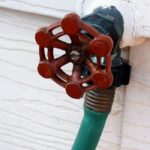
To connect a drip line, start by attaching a vacuum breaker at the hose bibb or garden faucet. Next, connect a hose Y connector. Hook up one valve of the hose Y to your garden hose and the other to a pressure regulator where you can then attach the drip tubing.
You can easily install a drip irrigation system in your garden in just a few hours. It’s a simple process where most of your time will be spent on measuring, cutting, connecting, and placing your tubing and emitters. Let’s take a closer look at the first steps of installation and the various components that you’ll need for this process.
How Do You Connect a Drip Line to Your Faucet?
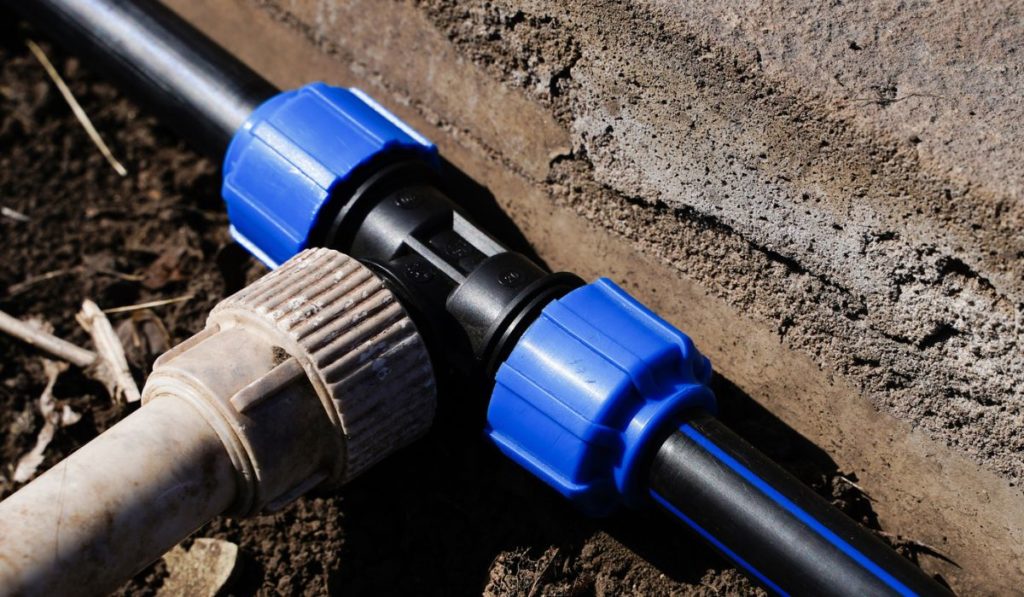
Before connecting the drip line, there are a number of components that you’ll need to attach to your faucet.
This faucet assembly can be called the heart of your drip system since it turns the system on and off, filters debris from the water, controls the water pressure, and prevents backflow contamination.
The faucet itself will stay open all the time, so make sure that it’s in excellent working condition with no leaks.
- The first thing that you’ll install in your faucet is the vacuum breaker (on Amazon). A vacuum breaker prevents contamination of your water source as it prevents backflow from the irrigation system.
- Adding a hose Y (on Amazon) next will allow you to attach your drip tubing on one side, leaving the other side free for a garden hose, to fill watering cans, or for other uses.
- Before attaching your drip tube, be sure to attach a pressure regulator to the hose Y as a drip irrigation system isn’t capable of handling the high pressure that typically comes out from the faucet. This is where a filter will go too, if you choose to add one. A filter is great to prevent the drip tubing from clogging if anything gets in the connector.
You also may want a timer. From simple mechanical ones to a fully digital timer (on Amazon), you can choose from a wide range of options. Adding a timer is not only convenient but also helps save time and money. Attach it on the Y connector ahead of all the drip irrigation equipment to automate your watering!
Are Most Drip Lines Compatible With Any Faucet?
Drip lines become compatible with any faucet with the help of a faucet adapter. Faucet adapters are designed to connect drip lines with any hose bibb. These adapters consist of a backflow preventer, a pressure reducer, a filter, and a port to connect ½-inch irrigation tubing.
What Supplies Do You Need to Connect Your Drip Line?
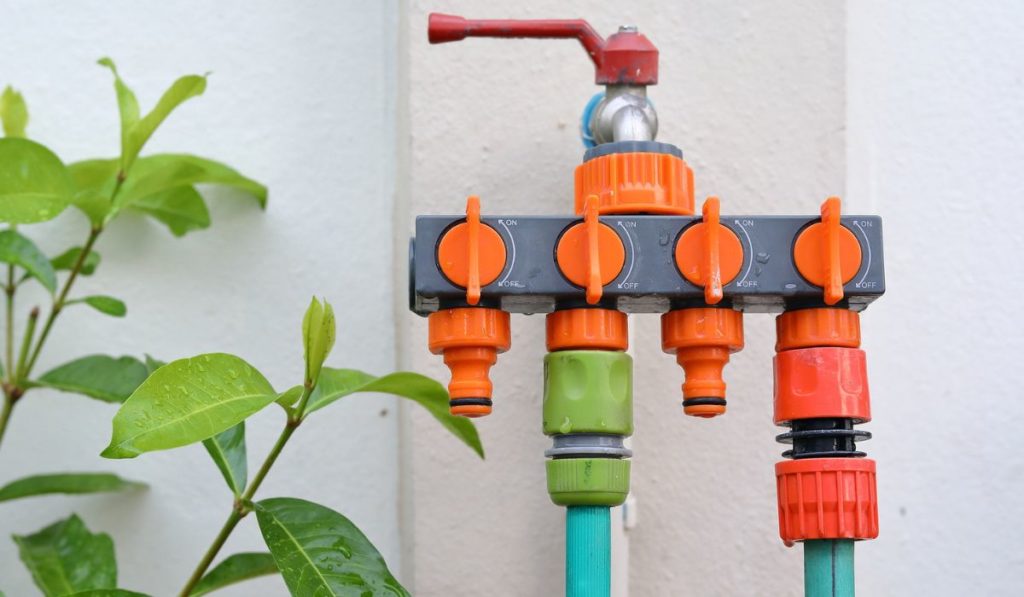
A drip irrigation system consists of faucet adapters, tubing, emitters, and timers. To connect your drip line, you’ll need to equip yourself with the following:
- A hose bibb: A faucet or a hose bibb within 50 feet of the area you want to irrigate will be suitable.
- Faucet adapter: This important piece of equipment connects drip tubes to the hose bibb. If you already have a backflow preventer installed, then you can use a 3-in-1 faucet adapter that contains, a pressure reducer, a filter, and an outlet to connect to ½-inch tubing.
If a backflow device isn’t installed, you should use a 4-in-1 adapter to prevent your main water supply line from getting contaminated. - Mainline tubing: The mainline is considered the backbone of your irrigation system. All the other components run from or are attached to the mainline tubing. Some systems use just micro tubing, but for larger systems, mainline tubing can be run like a higher pressure highway off which different sections of micro tubing can be run off of.
- Micro tubing: Compared to mainline tubing, micro tubing is thinner and more flexible. With the help of micro tubing, you can deliver water easily to all the corners of your garden.
- Emitter: Emitters (on Amazon) are the components that deliver water to plants. They come in 1 or 2 GPH configurations and dribble water where they’re installed.
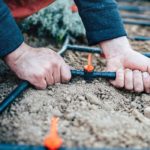
There are several types of emitters available that are suitable for different areas. For instance, some emitters spray water in all directions, while others drip water in the same spot. - Punch tool: This tool is used to make holes and place emitters in your ½-inch black supply line. They are very easy to use and allow you to customize your drip line as needed.
- Transfer barbs: Elbow fittings and transfer barbs (on Amazon) are designed for smaller lines. You can connect your soaker dripline and micro tubing to the mainline tubing with the help of these tiny connectors.
- A battery-operated timer: With the help of a timer, you can easily automate the system. You can use a single outlet hose timer or a 2-outlet hose timer (on Amazon), depending on your requirements. Using a 2-outlet hose timer, allows you to break up the main line into two smaller lines.
Simply turn on the faucet and set the timer. The water will automatically flow through the drip system at the selected time, making the watering process much more convenient. - Landscape staples: Ground stakes or landscape staples (on Amazon) help to keep the drip line in place.
- Figure 8 clamps: Seal off your drip line with a figure 8 clamp or a cap. You can also fold back the tube over itself and use duct tape to hold it in place. If you want to extend your dripline in the future, simply remove the cap or clamps and attach more emitters and micro tubing.
How to Prevent Contaminated Water From Entering Your Home’s Water Supply
It’s crucial to prevent contaminated water from entering your home’s water supply to protect yourself from germs and diseases.
If your hose bibb doesn’t have a vacuum breaker already installed, be sure to connect a vacuum breaker to your pressure regulator when connecting a drip line. This will stop the contaminated hose water from entering your home’s main water supply lines.

