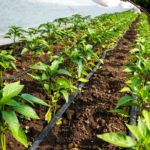
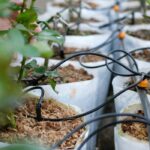
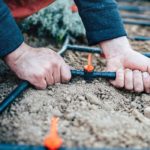
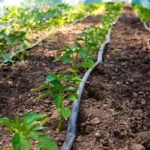
Drip irrigation is an efficient and versatile method to water commercial and residential lawns and gardens. It helps to save both time and money while keeping the plants healthy. However, before installing a drip system, you’ll need to consider many things, like the type of system, placement of emitters and tubing, and most importantly, how much it will cost you.
A residential drip irrigation system costs $200-$850. DIY solutions start from $20, while the cost of an agricultural drip system can go up to $3,500 per acre. Factors like area size, quality of materials, and whether it’s DIY or professionally installed can affect the cost.
Although the drip irrigation system is an efficient method of watering your plants, dramatically reducing your water use and energy costs, the upfront cost can be a bit high. Let’s look at how much this system costs when installed professionally or done as a DIY project and determine whether it’s worth the cost.
What is the Purpose of Drip Irrigation?
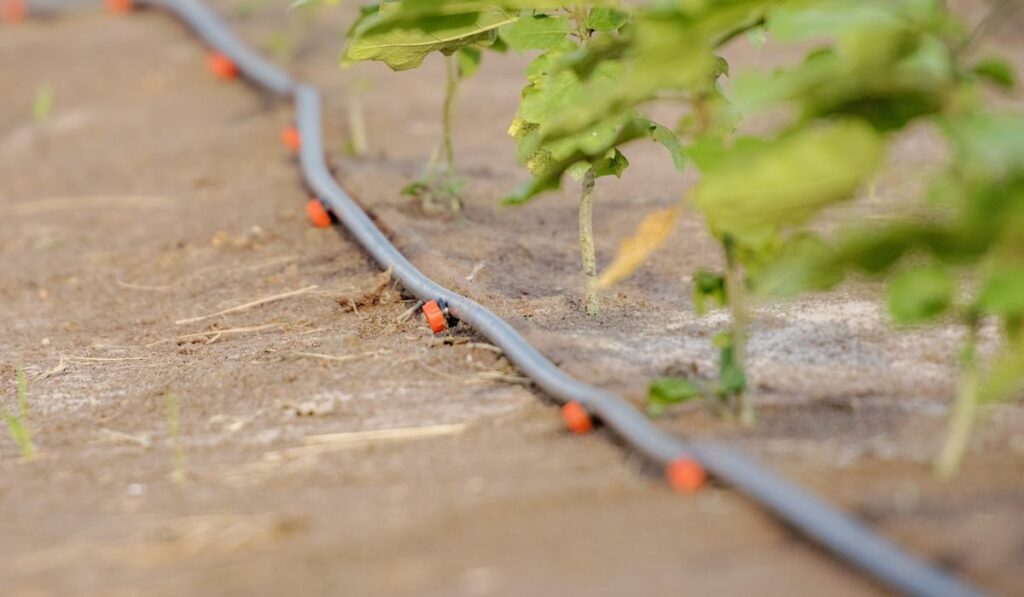
A drip irrigation system is a low-volume, low-pressure irrigation system that reduces water use by almost 50%. This system uses a network of flexible tubings to apply water to the root zone.
The purpose of this system is to eliminate water wastage, reduce water costs, and ensure plant health by delivering water and nutrients directly to the plant roots. This direct application also helps to reduce weeds, fungal diseases, and pest issues.
The drip irrigation system is of two types:
- Subsurface Irrigation: Typically used for row crops, subsurface irrigation is a permanent underground system that is becoming increasingly popular for irrigating lawns in residential areas.
- Surface Irrigation: This type works best for non-grassy areas like flower beds and gardens. They are installed above the ground or just beneath it.
What is the Average Cost to Install a Drip Irrigation Line?
The average drip irrigation system cost depends, among other things, on the types of irrigation and size of the area:
Subsurface Drip Irrigation Price
The cost per acre installation of a subsurface irrigation system varies between $1,000 and $4,000. This system is commonly used on farms to distribute water through driplines buried under the soil. Although this system work on slopes, it’s not suitable for heavily treed areas.
This system has recently become increasingly popular among homeowners due to its energy and water conservation benefits.
Above-Ground Drip System Costs
An above-ground drip system installation costs range from $1.50-$4.50 per square foot to $300-$1,200 per zone. These systems are perfect for irregularly shaped landscapes and residential gardens. The above-ground driplines can be covered under mulch or may sit on the ground.
And it’s worth noting here that we’re sort of assuming you’re thinking about large-scale drip irrigation of a whole yard, or maybe a crop. Small-scale, consumer drip irrigation systems can be extremely cheap. Kits like this one (on Amazon) can let you add drip irrigation to a flowerbed or vegatable garden for <$100.
Lawn Drip Irrigation Cost
The per square cost of lawn drip irrigation ranges between $0.50-$4.50, depending on the quality of components, system type, coverage area, and whether it’s professionally installed or DIY.
Farm Drip Irrigation Cost
Installing a drip irrigation system costs $1,000-$7,000 per acre. However, the area covered in agriculture is much larger.
Foundation Drip System Price
The installation of a foundation drip system ranges from $1.50 to $4.50 per linear foot. So for a 2,500-square-foot home, you can install a foundation drip system for $70-$140.
The following are the factors that can affect the cost of installation of a drip irrigation system are:
- Area Size: A larger area would require a longer installation time and more parts, which could drive up the cost.
- Condition of the Garden: Irregularly shaped fields, excessive tree roots, and uneven ground can make installing a drip system challenging.
- Type of Plants: Grouping plants in separate zones according to their unique watering needs increases installation time.
- Soil Type: Sandy and rocky soils may require more labor for installation, depending on the drip system you choose.
- Season: You might be able to enjoy reduced rates as some landscapers offer benefits to their customers during slower months.
- System components: The cost of installing a new system will be pretty high compared to the cost of modifying an existing one.
- Quality of Material: High-quality materials, rain sensors, and smart timers can drive up the installation cost but add convenience and increase the system‘s service life.
- Monetary Incentives: Many cities offer tax incentives and rebates to entice people to shift to drip irrigation to conserve water.
- Water Source: Various water sources like groundwater, city water, and surface water need different levels of filtration.
How Long Does Drip Irrigation Take to Install?
The installation of a 100-foot drip irrigation system takes 4 to 6 hours. This includes the time needed to connect the system to an external faucet or water source, check and adjust the emitters, and turn on the system.
Preparing a plan beforehand can make the installation process much easier, ensuring you have all the tools and components needed for the system you want to install.
Does Drip Irrigation Add to Value to Your Home?
Installing a drip irrigation system can definitely add value to your home. Gardens and lawns that are watered efficiently look fresh and healthy, increasing your home‘s curb appeal. Potential buyers find this highly appealing, making it easier to sell your house quickly.
However, it should be kept in mind it doesn’t necessarily increase the appraisal price, which typically depends on local market conditions.
DIY vs. Hiring a Professional
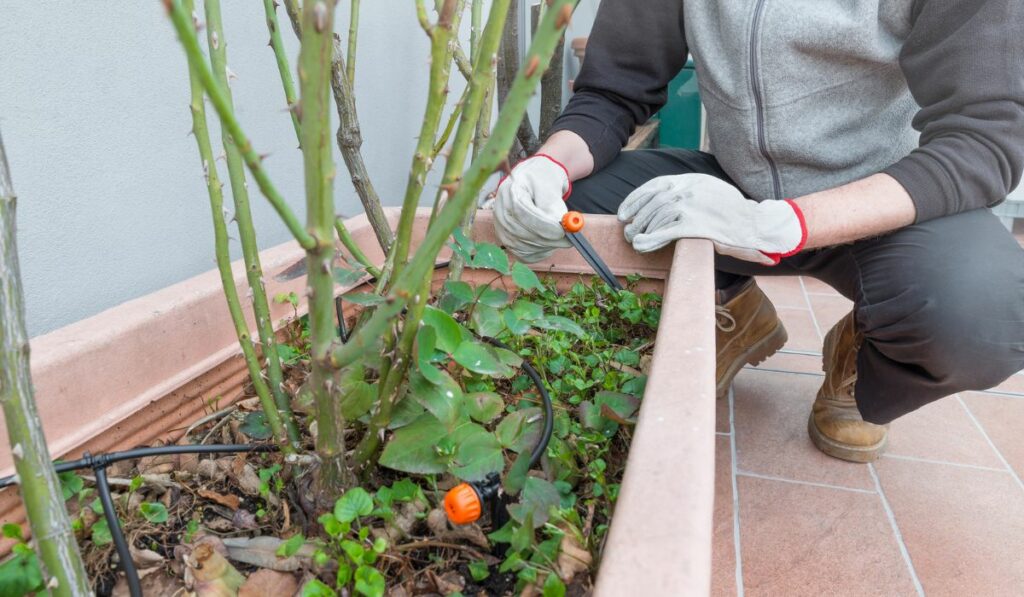
Whether a drip irrigation system is professionally installed or done as a DIY project can significantly affect its cost.
For example, compared to DIY, hiring a professional to install your drip system costs you four times more. But since the proper installation of a drip system is essential, it might be best to consider hiring a professional.
An above-ground drip irrigation system can be installed as a DIY task, as it doesn’t require much experience—just the ability to follow instructions and a few hours.
Most DIY drip irrigation installation kits come with clearly written instructions that are easy to follow, while many manufacturers offer video tutorials on their sites. Watching these tutorials a couple of times can help in the proper installation of the system.
DIY Tips
Following are some tips that will help in the DIY installation:
- Place the tubing in the sun before installation for increased flexibility.
- Install a backflow preventer to ensure your home’s main water supply is not contaminated.
- Make a boundary around tight curves using vinyl tubing, while polyethylene tubing should be used for other areas.
- Ensure that the combined length of laterals and mains is not more than 400 feet.
- Install pressure regulating valves to efficiently water plants and shrubs according to their needs.
- Group plants with different watering needs into zones.
- Remember that sandy soils need increased water flow, while emitters should be adjusted to drip slowly for clay soils.

