Installing a sprinkler system isn’t particularly difficult, as long as you use the right materials and procedures. However, if you’re not careful, you might end up with your sprinkler shooting water where it shouldn’t. So, how do you install a sprinkler system properly?
To install a sprinkler system, create an irrigation map and determine your watering zones. Mark where the sprinkler and pipes will go, then dig trenches around the main water source. Lay down the pipes and connect them to the water source. Finally, connect the risers and install the sprinkler heads.
Let’s take a closer look at the step-by-step process of installing a sprinkler system, how deep it needs to be, and how you can determine the flow so that you can adjust the sprinklers properly. We’ll also take a look at the total cost of the whole process and whether it’s better to hire a professional to complete the job.
Installing a sprinkler system is a lengthy 12-step process. Let’s go through each step in detail.
1. Collect Important Information
Before you go ahead and order the required parts, you first need to gather some important information. First, determine the working water pressure using a pressure gauge that attaches to your outside faucet and provides a reading in PSI — like this one (on Amazon). Make sure you turn off all other faucets, both indoors and outdoors, before taking the reading.
You can also ask your local municipality about the water pressure. However, it’ll give you an average of your neighborhood instead of the exact pressure in your home.
The next thing you need to determine is the water meter’s size. In a municipal water system, you’ll find the size on the meter itself. If you can’t find it, call the water provider or check your utility bills. If you get water from some other source, like a well, you’ll need to know the pump size. For that, you can check the owner’s manual or get in touch with the manufacturer.
You also need two more numbers: the size of your water service line and the flow rate in gallons per minute.
2. Make an Irrigation Map
An irrigation map will help you determine the watering zones. The number of zones will also depend on your system’s water flow rate in gallons per minute (GPM). Each zone contains sprinkler heads and pipes and has a dedicated control valve.
To determine the zones, create a diagram of your property with all the flower beds, mulched areas, shrubs, trees, other foundation plantings, sidewalks, slopes (since they affect the amount of water that’s delivered by the sprinkler), and other installed features like fences. Also, draw areas of shade and sun.
Mark where all the pipes, control valves, and sprinkler heads will go. Make sure you give enough space between them so that they provide sufficient coverage. Take note of prevailing winds if you think that they’ll affect the water coverage. Also, draw where you’ll place the manifold. Make sure you place it somewhere unnoticeable, near the water supply line.
3. Get the Necessary Supplies
Depending on the irrigation map and your water system’s specifications, you now need to get the required components. The main parts include PVC pipes, control valves, risers, sprinkler heads, and an automatic timer (on Amazon).
4. Mark the Sprinkler and Pipe
Place flags or stakes where you intend to place the sprinkler and connect them with a string to mark where you’ll lay the pipe. Also, make sure to mark where the trenches will be.
5. Dig the Trenches
First, locate the pipe you’ll be tapping into for the water source. It might either be buried underground or in the basement. Then, excavate 4-12-inch deep and 4-inch wide trenches using a gas-powered trenching machine. Make sure you follow the string that you marked in the irrigation map.
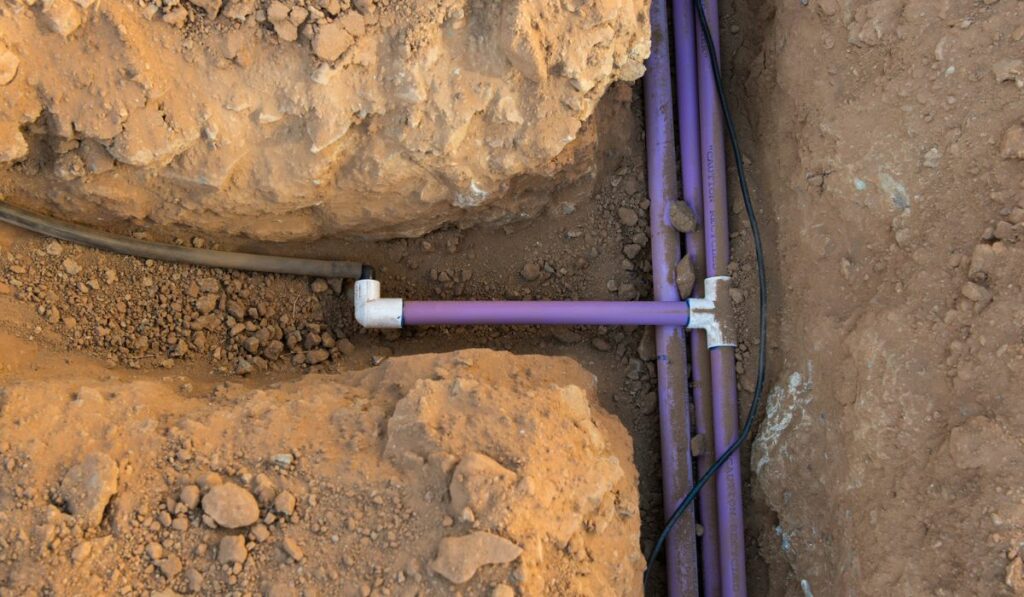
6. Connect the Pipes
At the meter, switch off the water supply to the house and lay the pipe into the trench. To do so, cut into the main line and fit in a tee connection for each sprinkler using primer and PVC cement. In case you have a copper line, solder a copper tee. Now, glue a PVC elbow together with a male PVC adapter and thread it into the tee connection on the main line.
You can connect the PVC and copper here. If this step seems difficult or if you’re unsure, you can call a professional to tap into the main water line.
7. Connect to the Main Water Source
With the pipes now assembled, you can now work on hooking up the system to the main water source. Connect the control valve either to the service line directly (better to call a professional for this) or to a faucet. Also, connect the PVC sprinkler pipe to the control valve. You can also use different valves to control the flow of water to the different parts of the yard.
8. Connect the Risers
Fit a riser into all the tee connections that you’ve placed along the PVC pipe.
9. Flush the System
Before installing the sprinkler heads, flush out the system to remove the dirt and debris that might have made its way into the pipes. To do so, simply switch on the water supply and let it run until all the debris flows out.
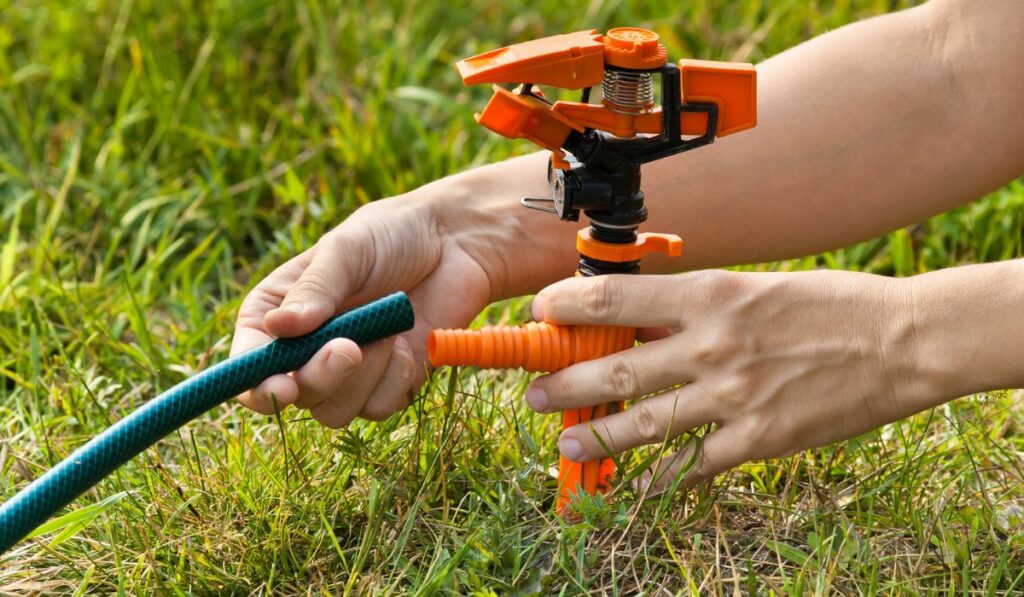
10. Install the Sprinkler Heads
Place a sprinkler head on each riser. Make sure the heads point in the correct direction and that they’re connected at the soil level so that they function properly.
11. Install a Timer
You can program an automatic timer to schedule different watering zones at different times. To do so, mount the timer on the wall of the house. Strip the insulation of the 24-volt wires (just the ends) going from the zone’s control valves to the automatic timer.
Now, connect the wires to the timer’s terminals. Refer to the manufacturer’s instructions for this step. If necessary, you can also hire an electrician to connect the timer to a power source. With all of this done, set the timer and test it to make sure all the sprinklers in each zone work properly. In case some nozzles don’t work how you expect them to, make sure you adjust them.
12. Test the Whole System and Bury the Pipes
Check the system thoroughly to ensure there are no leaks. Once everything looks good, all that’s left to do is cover the pipes and you’re good to go.
How Deep Does a Sprinkler System Need to Be Buried?
You need relatively shallow trenches with a depth of around 6-12 inches for your sprinkler system, depending on the frost severity and the freeze cycles in your area.
In the case of pop-up sprinklers (on Amazon), make sure that the trench is deep enough that it allows them to retract underground to avoid breakage from a mower or other lawn machines.
How to Determine the Flow Rate
Determining the flow rate is pretty easy. Start by filling a measurable container with water using the outside spigot. Take note of the time it takes for the container to fill to some measurable level, like one gallon. Now, divide the size of the filled container in gallons by the time it takes to fill it (in seconds) and multiply it by 60. The resulting answer is the flow rate in gallons per minute.
If you want the flow rate in gallons per hour, simply multiply the gallons per minute by 60.
How Much Does It Cost to Install a Sprinkler System?
The cost of installing a sprinkler system depends on whether you do it yourself or hire a professional. If you choose to do it yourself, the only cost you’ll have to bear is that of all the materials. If you hire a professional, you’ll likely have to pay around $3,000-$4,000 for a ¼-acre lot.
Should You Install Yourself or Hire a Pro?
You can install a sprinkler system yourself if you can put in the time and effort. But we’re not gonna lie: It’s a challenging project. Even if you have experience with DIY projects, you might need to call an electrician or plumber for certain parts.
And while hiring a professional is more costly, they’ll be able to design a more efficient system that also conserves water, saving you money in the long run. Plus, you won’t have to face the hassle or risk making costly mistakes.