Water is an essential component of our everyday life. But even though a large part of the Earth’s surface is covered with water, the amount of water available for agriculture is becoming scarce. That’s why micro irrigation systems, such as drip irrigation systems, are gaining in popularity. But how exactly do you install a drip irrigation system?
Installing a drip irrigation system is a DIY project that doesn’t require advanced irrigation tools or years of experience. First, lay out the tubing and connect the hoses. Then, install the emitters and branch and feeder lines. Flush the irrigation lines every season to remove excess dirt.
Drip irrigation allows you to keep your garden in tip-top shape with much less water than many other options. Installing a drip irrigation system is also pretty straightforward and can be accomplished in very little time. Let’s look at the steps involved and the advantages of drip irrigation so that you can also start conserving water straight away.
The purpose of drip irrigation is to ensure that plants and trees get water according to their needs. It is a highly efficient watering method that prevents overwatering since water is delivered slowly and directly to the plant roots with the help of what are known as emitters (on Amazon).
This gives users more control over watering, and there’s very little water loss due to evaporation. In addition to saving water, this method also helps you save time as you don’t have to water the plants by hand. Furthermore, there will be fewer weeds because the soil doesn’t get as wet.
This method also ensures healthier plants — the leaves of the plants don’t get wet, which eliminates the danger of fungal diseases.
How Is Drip Irrigation Installed?
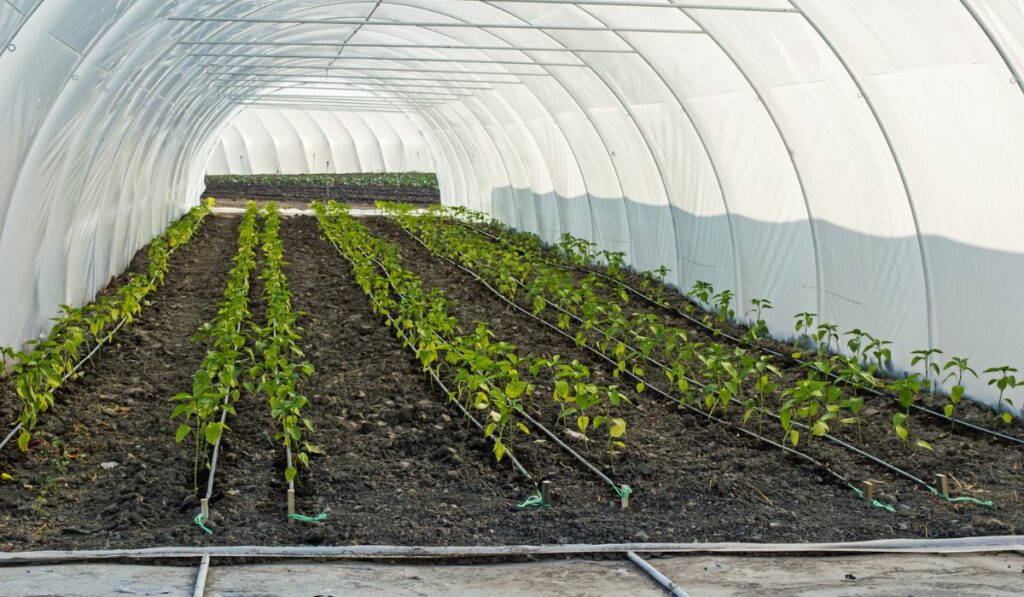
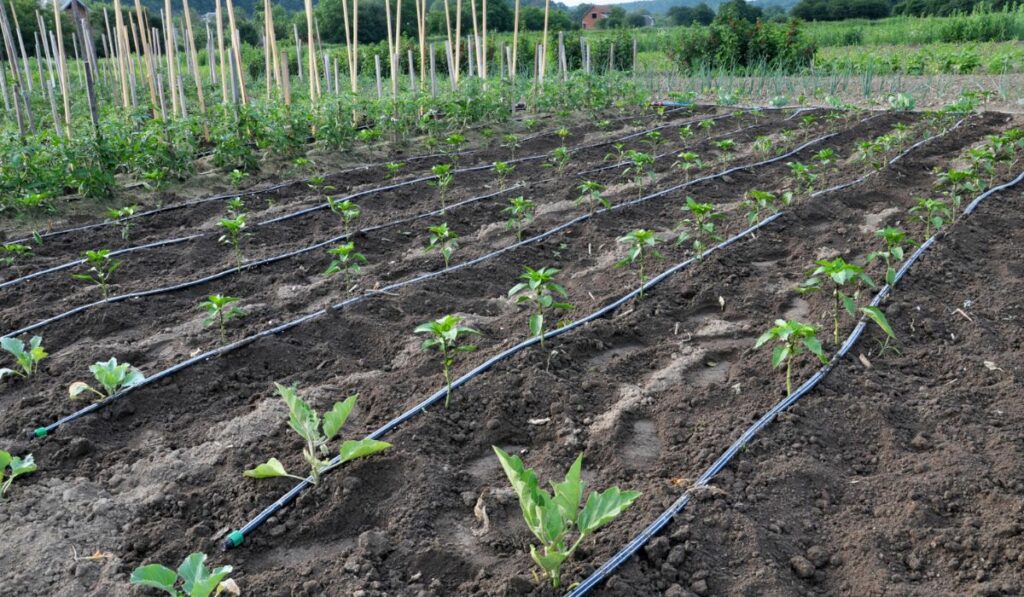
A drip irrigation system consists of interconnected drip irrigation tools like hoses, valves, and emitters. Correct installation of these tools is essential for the efficient performance of the system.
It’s also better to draw a drip irrigation diagram beforehand, as it will help you plan your grid prior to installation. The following steps can help you with your planning:
Plan out where you’ll place the hoses or micro-tubing.
Number the plants that need to be watered.
There should be an individual dripper or emitter for each plant. Take note of the distance between plants, as this will determine the length of hoses you’ll need.
It’s recommended to place emitters 24-inches apart in clay soil, 18-inches in loamy soil, and 12-inches in sandy soil.
A circuit of drip irrigation lines is used to attach the hoses to the water source. These irrigation lines run from the main hose to the plants.
Now that you’ve got a general idea of how it’s going to work, let’s go through the installation steps in detail.
Join the Hoses/Tubes As Needed
Typically, there are ¼-inch and ⅛-inch drip irrigation tubes. These plastic hoses are the heart of the drip irrigation system, and assembling them properly is crucial to running the system efficiently. Let’s look at what you need to do to assemble them properly:
Attach a backflow preventer valve (on Amazon) to your outdoor faucet. This will prevent the contaminated groundwater from backwashing into your drinking water.
Hook up the main line of the system to the backflow preventer before running it to the garden.
Place Tees for Branch Lines
After assembling the hoses, the next step is to install the tees (on Amazon). Tees are helpful in connecting your hoses and determining how the lines will branch off. They are quite handy when it comes to installing the drip irrigation network across landscapes, around corners, or up hills.
Tees can be installed with the help of the following tips:
Install a tee in the main line for every branch line.
Use band clamps to secure the tees.
Connect the tubing to the hose bib. Cut lengths of the main tubing, making sure that it extends through your garden to every tee.
Install Feeder Lines and Emitters
Proper installation of the drip irrigation system is the key to ensuring efficient watering of your garden. Lastly, you’ll need to put in emitters and feeder lines to get your system ready.
The following steps will guide you through the process systematically:
Punch holes in the tubing for emitters with the help of an emitter tool (on Amazon). Put the emitters in the chosen locations close to the plants.
Make sure that the distance between the selected plants and the tubing is not more than 1 foot. Cut the ⅛-inch emitter tubing to an appropriate size. Connect the emitter on the branch line to the feeder line. Next, secure an emitter to the feeder line.
Use caps to plug the ends of tubes and secure them with band clamps.
Remember to remove the caps and flush the system after every four to six months. Turn on the water and run it to clean all the dirt from the tubing.
Use Ground Stakes to Hold Down the Tubing
Once you’ve installed all the tubing, use plastic ground stakes (on Amazon) to keep it in place. Make sure that you get the right size that fits over the tubing.
Cover the Tubing With Mulch
After installing the system, check that all the connectors are tight and there’s no leakage. Turn on the water to make sure that no emitters are clogged or blocked.
To maintain the aesthetics of your garden and to prevent the water from evaporating, cover the exposed tubing with at least two inches of mulch.
What Are the Advantages of Drip Irrigation?
There are several benefits of drip irrigation. These include:
Saves water: Drip irrigation uses less water compared to traditional irrigation methods. The saved water makes it possible to irrigate a much larger area.
Uniform application of water: This method provides uniform application of water to plants at one time.
Saves electricity: This system uses very little pressure to operate, which helps in saving electricity and lowering costs.
Controls soil erosion and weeds: As the water is applied to the roots, there’s hardly any soil erosion or weeds.
Savings in fertilizer costs: Drip irrigation makes it possible to apply water-soluble fertilizers through water, which helps to save on fertilizer costs.
What Are the Downsides of Drip Irrigation?
On the other hand, drip irrigation also has some drawbacks:
Clogging: Drip irrigation tubing and emitters can become clogged over time. This prevents uniform distribution and easy flow of water.
Damage and wear and tear: The drip irrigation tubing can develop leakage due to exposure to UV light. They are also prone to damage by rats and other animals.
Drip Irrigation Maintenance and Upkeep
Periodic maintenance of your drip irrigation system is essential for its sustainability and to ensure that there’s no hindrance in the efficient distribution of water. You should regularly check the different components of your system and perform repairs if needed.
Look for signs of wear and tear, and replace degraded parts to prevent closures and leaks. Maintenance also includes washing the irrigation pipes and filters to get rid of accumulated impurities and salts.