Soaker hoses are a great way to water your plants because they allow the water seep out slowly and directly at the roots, right where it’s needed most. But do you need to go out and buy a soaker hose, or can you make your own at home?
Making a soaker hose is quick and easy using an old garden hose. With a cordless drill, make holes along the length of one side of the hose. Then, attach one end of the hose to the spigot and cap off the other end. Position the hose near the plants you want to water, and turn on the spigot.
Let’s take a closer look at what you’ll need to get started and then go through the steps in detail. Plus, we’ll go over some tips on how to best position your soaker hose for optimal watering.
Making a soaker hose is a great solution for watering your garden. With some simple supplies and a little time, you can have a custom-length soaker hose that will save you time and money.
Now that you have all your supplies, it’s time to start making your soaker hose.
1. Create Holes and Cap the End of the Hose
Drill evenly spaced holes along the length of the garden hose, about 2.5-3 inches apart. Start the holes at least 18 inches from the end of the hose that fits into your spigot.
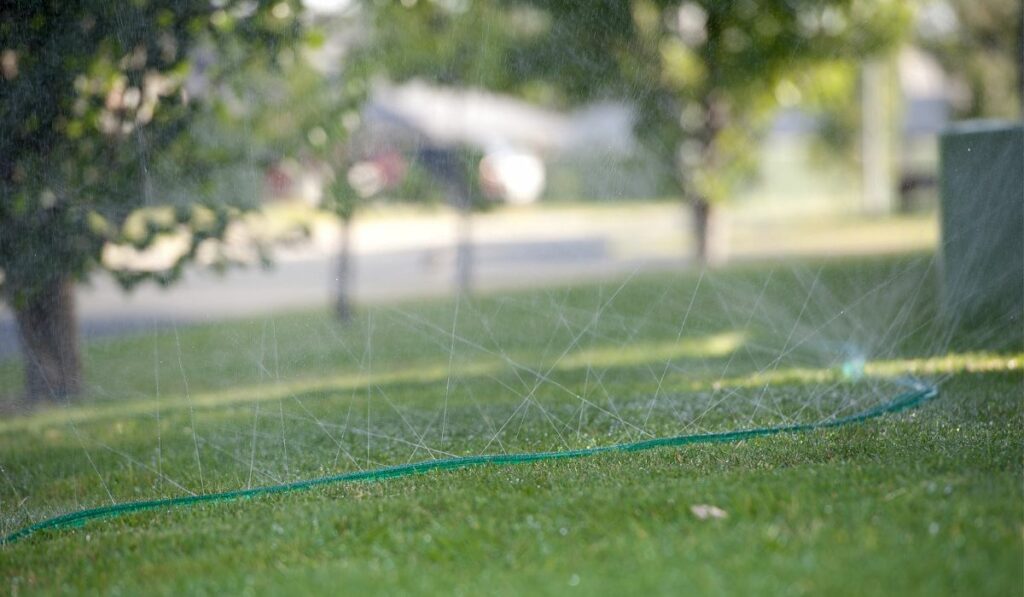
Make sure to only drill on one side of the hose, and not through to the other side. Otherwise, water will spray up and out instead of seeping into the soil.
Once you’ve reached the end of the hose furthest from the tap, cap it off with the hose cap. The cap will keep water from coming out of the end of the hose and instead force it through the holes you’ve just drilled.
2. Determine the Positioning
Now that your hose is ready to go, it’s time to determine where in your garden you’ll place it.
First, decide if you want a permanent position or if you’d like to move the hose around. Consider your garden and what plants you’re trying to water.
If you have a large garden or one with many areas, it might be easier to move the hose around as needed. Opt for a permanent position if you have a smaller garden or one with plants that require consistent watering.
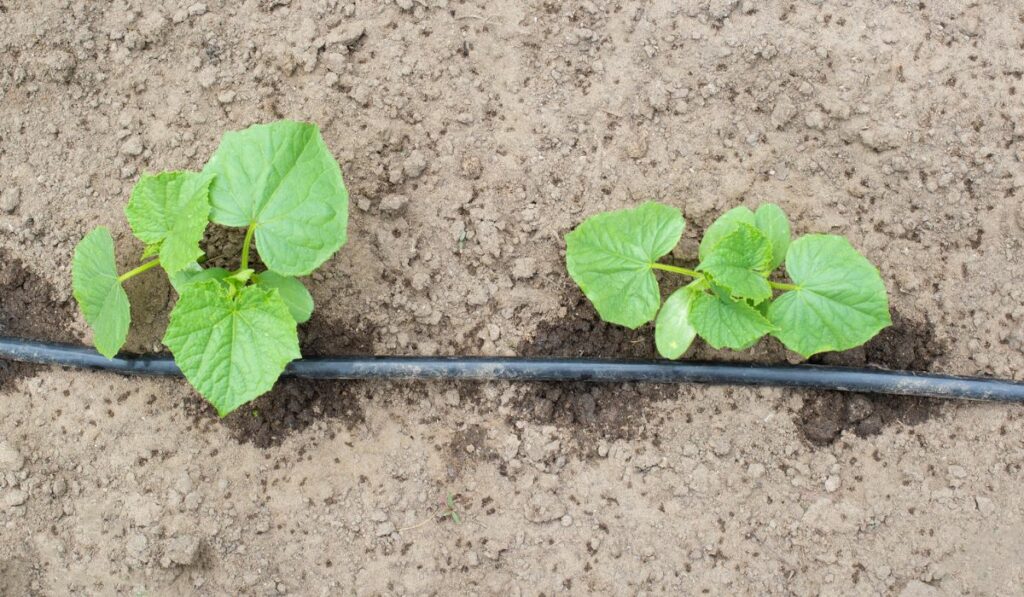
If you use permanent placement, burying the hose an inch or so under the soil or mulch will help keep it in place, minimize evaporation, and prevent it from being damaged by lawnmowers or other yard tools. You can also use stakes to keep the hose in place.
If you move the hose around, simply looping it around plants or placing it on top of the soil will work well. Just be sure not to kink the hose, as this will reduce the water flow.
You may find that your hose isn’t long enough to reach all areas of your garden. You can link multiple hoses with a hose connector (on Amazon). But be aware that this may decrease the water pressure and flow through the entire system.
3. Connect to the Water Source and Start Watering!
Now that your soaker hose is in place, it’s time to turn on the water. Start with a low flow and gradually increase the pressure until water seeps out of the holes in the hose. Keep an eye on the hose as you’re doing this, as you may need to adjust the flow if water sprays out of the holes.
Walk the length of the hose and inspect it to make sure water is flowing evenly from each of the holes. If not, you may need to re-drill any holes that aren’t releasing water or adjust the pressure or position of the hose.
Now that your hose is set up and working correctly, you can water your plants as needed.
For deep watering, run the hose for no longer than 30 minutes twice a week, depending on your garden’s needs and the climate. Overwatering can lead to plant diseases and root rot, so it’s critical to be mindful of how much water your garden is getting.
Don’t forget to turn off the hose when you’ve finished watering. If you have trouble remembering to do this, consider investing in a hose timer (on Amazon) to attach to your spigot and turn the water off for you automatically.
Occasionally flush the hose with water for a few minutes after removing the end cap to remove dirt or debris that may have entered — it could cause clogs. Periodically check on your hose while it’s running to ensure that the pressure is consistent and that water flows from all the holes.


")
")


")
")