Shed siding is essential to any shed, providing both protection and aesthetics. There are several types of shed siding, including wood, metal, vinyl, and engineered wood. The choice of shed siding will depend on factors such as budget, aesthetics, and maintenance requirements.
To DIY a shed for your yard you first need to pick either wood, metal, or vinyl as your building material. Then you need to buy equipment, such as a saw and nail gun, based on the material you choose. For wood sheds, you’ll need to additionally plan to stain and paint your shed to protect it.
DIY projects can provide a sense of satisfaction and accomplishment. DIY shed siding projects also allow for greater flexibility in terms of design and timeline. So naturally, there are challenges to building your shed siding. Let’s look at DIY shed siding and how to go about it.
What are the Most Popular Materials for Shed Siding?
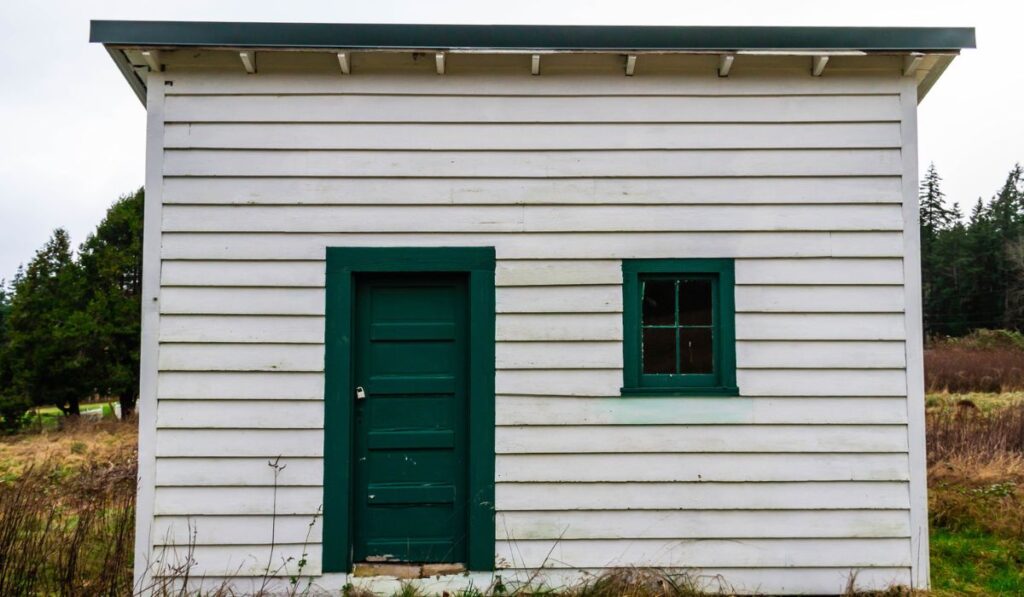
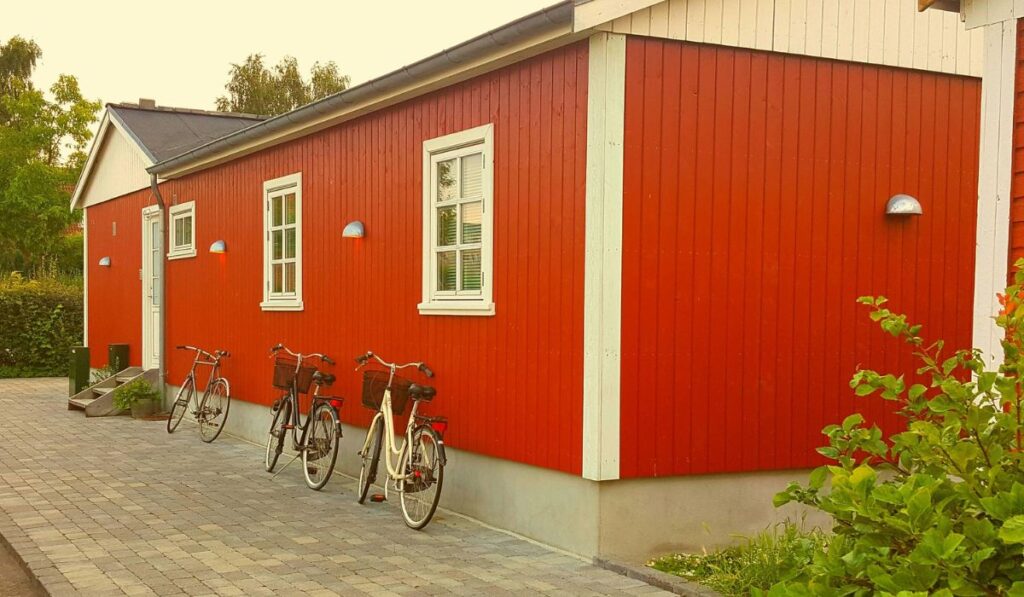
If you’re considering options for your shed siding, there are a few popular materials to consider. Wood is a classic choice for its natural look and these sheds can be made from different types of wood, such as cedar or redwood. Wood sheds are versatile and can be painted or stained to match your style.
Vinyl is another popular choice for its durability and low maintenance and is available in various colors and styles to fit your shed’s aesthetic. Vinyl sheds also tend to be cost-effective for those on a budget.
Metal sidings like steel or aluminum can be a strong and insect-resistant option for a more modern or industrial look. But ultimately, your decision will depend on your budget, personal taste, and desired style for your shed.
What is the Most Affordable Siding Option?
Vinyl siding is great when choosing the most budget-friendly siding option for your shed. It’s known for its affordability, low maintenance requirements, and resilience.
Made from PVC resin, vinyl siding is available in various colors and styles that can match the aesthetic of your shed. One of the main advantages of vinyl siding is that it’s easy to install, saving you money on installation costs. Plus, vinyl siding is resistant to weather, rot, and insects, which can help extend your shed’s life.
On the other hand, wooden siding is known for its classic and natural look, and can still be cost-effective based on the wood choice. But, these sheds will likely cost more than a vinyl shed. Metal sidings, however, like steel or aluminum, may require specialized installation equipment and tend to be even more costly than a wood shed.
Overall, vinyl siding is a top contender when you’re on a tight budget due to its affordability, durability, and ease of installation.
What to Consider Before Purchasing Siding
Weather Resistance
When purchasing siding for your shed, there are several things to remember. First, your area’s climate should be considered. Certain siding materials are better suited for specific weather conditions. For example, if you live in a damp area, you may opt for siding resistant to moisture, like vinyl or metal.
Durability
Durability is another crucial factor to consider. The siding material you choose should be strong enough to withstand harsh weather conditions and remain intact for a long time.
Wood siding is popular for its natural and timeless appearance. Still, it requires more upkeep and is prone to rot and insect damage. In contrast, vinyl and metal siding are low-maintenance and durable options.
Cost
The cost of the siding material is also important to consider. Wood siding is typically more expensive due to materials and regular maintenance needs. On the other hand, vinyl siding is often the most affordable and easy to install.
Metal siding may be more expensive due to the cost of materials and installation. Still, it offers exceptional durability and a modern, industrial look.
Overall Style
Lastly, the overall style of your shed should be considered when selecting a siding material. Vinyl siding comes in various colors and styles to match any design.
Wood siding can be painted or stained to fit your aesthetic but within reason. Metal siding is often chosen for its sleek, contemporary appearance but it can be hard to paint or adjust the color of a metal shed. So, before you buy, consider what color you would like your shed to be as well as how often you plan to change aesthetic!
What You’ll Need to Get Started
It’s important to ensure you have all the necessary tools and materials before you begin. So here is a comprehensive list of what you’ll need to get started:
Siding material whether you choose vinyl, wood, or metal siding, make sure you have enough material to cover the entire shed.
Measuring tape to accurately measure the dimensions of your shed and determine how much siding material you will need.
A bubble level to ensure that the siding is installed straight and even.
A saw to cut the siding material to the proper size and shape.
Nails or screws to secure the siding to the shed.
A hammer or drill to drive in the nails or screws.
Caulking to seal any gaps or spaces between the siding and the shed.
A utility knife to cut the caulking and siding as needed.
Depending on the height of your shed, a ladder or scaffolding to reach the top areas.
Safety equipment like gloves, eye protection, and a dust mask to protect yourself while working.
If you choose wood siding, you may need to paint or stain it to protect it from the elements and give it a finished look.
How to Make Shed Siding at Home
Using Wood
1. Determine the Type of Wood
The first step in making your shed siding is determining the type of wood you want. Cedar, pine, and redwood are popular options due to their durability and natural resistance to weather and insects.
2. Measure and Cut the Wood
Once you have chosen your wood, you must measure and cut it to the desired length and width for your shed. A circular saw or table saw can be used to make precise cuts.
3. Choose the Siding Pattern
Several different siding patterns exist, such as board and batten, clapboard, or shiplap. Research and choose a pattern that best fits the look you are trying to achieve.
4. Prep the Wood
Before installing the siding, prep the wood by sanding it to ensure a smooth surface. You may also apply a coat of primer to protect the wood from moisture and insects.
5. Install the Siding
Once the wood is prepped, you can begin installing the siding. Start at the bottom of the shed and work your way up, overlapping each board to prevent water damage.
6. Seal the Siding
After installing the siding, seal it with a waterproof sealant to protect it from weather and moisture.
7. Regular Maintenance
Regularly inspect and maintain the siding to ensure its longevity. That may include repainting or resealing the siding every few years.
Using Metal
1. Choose Your Metal
The first step in making metal shed siding is choosing the type of metal you want. The most common options are steel and aluminum, which are durable and resistant to weather and insects.
2. Measure and Cut the Metal
Measure the dimensions of your shed and cut the metal to the appropriate size using a metal cutting saw or shears. Always wear protective gear like gloves and eye goggles when cutting the metal.
3. Prepare the Metal
Before installing the metal siding, you may need to prepare it by cleaning and painting it. First, clean the metal with soap and water, then apply a primer and paint suitable for metal surfaces.
4. Install the Metal Siding
Install the metal siding onto the shed using screws or nails. Be sure to space the screws or nails evenly and use a level to ensure the siding is straight. You may also want to use metal flashing around windows and doors to prevent water from seeping into the shed.
5. Finish the Metal Siding
Once the siding is installed, you can finish it by sealing the edges and corners with silicone caulk or a similar product. That will help to prevent water and moisture from getting into the shed and causing damage.
6. Maintain the Metal Siding
To keep your shed siding in good condition, clean it regularly with soap and water. Also, inspect it periodically for any signs of damage or rust, and make repairs as needed.
Using Vinyl
1. Measure the Shed
Before making the siding, measure the dimensions of your shed. That will help you determine the amount of vinyl siding you must purchase.
2. Purchase the Vinyl Siding
Head to your local home improvement store and purchase the right siding for your shed. Make sure to choose a color and style that matches your preferences and the design of your shed.
3. Prepare the Surface
Clean the surface of your shed where you will install the vinyl siding. Make sure it is dry and free of debris or any other materials that may affect the adhesion of the siding.
4. Install the Starter Strip
The starter strip is the first piece of siding installed at the bottom of the wall. It creates a level base for the rest of the siding. Follow the manufacturer’s instructions to install the starter strip properly.
5. Install the J-Channel
The J-channel is a vinyl trim installed around the shed’s perimeter, where the siding meets the roof, windows, and doors. It creates a finished look and helps to hold the siding in place. But, again, follow the manufacturer’s instructions for installation.
6. Install the Siding
Attaching the vinyl siding to the starter strip starts at the bottom of the wall. Use nails or screws to attach the siding to the wall. Ensure each piece of siding is level and properly aligned with the last piece.
7. Cut the Siding
Use a saw or tin snips to cut the vinyl siding to the appropriate length. Wear safety glasses and follow proper safety precautions when cutting the siding.
8. Finish the Siding
Once all of the vinyl sidings have been installed, attach the finishing trim pieces to the corners and edges of the shed. That will create a polished, finished look.
9. Maintain the Siding
Vinyl siding requires minimal maintenance, but it is important to keep it clean to prevent dirt and debris from building up. Use a soft-bristled brush and mild soap to clean the siding. Avoid using abrasive cleaners or pressure washers, which can damage the vinyl.


")
")
")


