All synthetic grass needs a base layer – a surface for the turf to be laid down on. While the final look of your new artificial lawn is crucial, what goes underneath synthetic grass is as, if not more, important as the turf itself. A well-laid base layer ensures that your artificial grass is well installed and has a long and healthy life. So, you need to pay attention to what base material you use and how you use it.
For your synthetic grass base you can use Crushed Miscellaneous Base (CMB), Class II Road Base, or Decomposed Limestone/Granite Chippings. They all work well, but decomposed granite is the best choice and CMB is recommended for DIY. Proper application is more important than the material used.
Of course, the base material you choose is important, but so is ensuring it is correctly applied. Thankfully, we’ve dedicated this article to explaining the process in-depth, so you can go ahead and create a flawless base for your synthetic grass lawn.
How to Prep your Synthetic Grass Base Layer
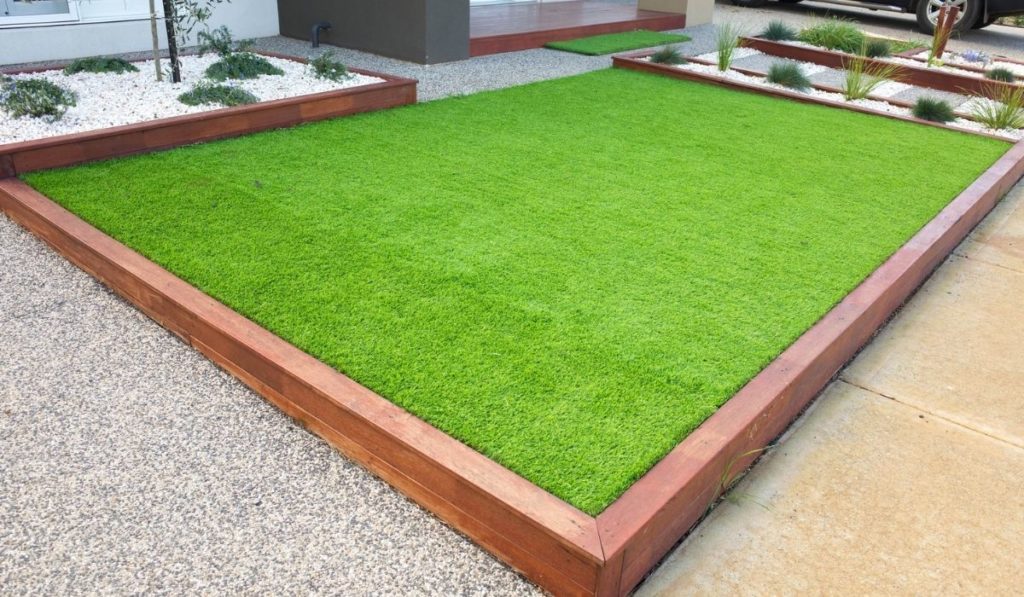
Your base material has to be evenly spread out across your lawn and well compacted. Once you get this part right, every other part of the installation will be a breeze. Your base material will function like natural soil, and it needs to be that way to give your synthetic grass the most natural appearance and texture.
Once you’ve picked out what material you’ll be using for your base layer, here are the steps you need to follow to guarantee a well-laid base.
Coat the Ground in Liquid Weed Barrier
Before you lay the base material across your lawn, the first thing you should do is get rid of any pesky weeds in that area. It’s tedious, but skipping this part will cause you a lot of trouble later. Once these weeds start growing again, they can ruin your turf.
To prevent this, spray the area with a liquid weed barrier or weed killer a few days before you start your base layer installation. This will give the chemical more than enough time to kill every stubborn weed and ensure that there’s no form of unwanted life left within that perimeter.
You can easily find some non-toxic weed killers for your lawn on Amazon. We’d recommend this Roundup for Lawns (on Amazon) and this 2,4-D Amine Weed Killer (also on Amazon).
Lay Down a Fabric-Based Weed Barrier
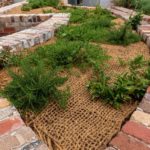
Even after applying weed killer on the lawn, there’s still a chance that some more stubborn weeds will survive. To combat this, you need to lay down a weed barrier for an extra layer of protection. Doing this will guarantee that weeds don’t grow underneath the synthetic grass for as long as the turf is laid.
If you want to guarantee an excellent result, we’d recommend investing a little more in a high-quality fabric-based weed barrier. This barrier will be strong enough to prevent weeds from growing, but also ensure enough passage for water to pass through.
In addition to protecting your artificial grass lawn from weeds, this weed barrier will also help to act as a stabilizing agent. This Kdgarden Premium 5OZ Pro Weed Fabric Barrier (on Amazon) and Hoople Garden Weed Barrier (also on Amazon) are two safe options you can try out.
It’s relatively easy to apply a weed barrier across your lawn. You can do it using the following steps:
- Cover the entire perimeter (where your synthetic grass will be laid) with the required fabric length.
- If you’re using more than one fabric, ensure the materials are overlapping.
- Secure the weed barrier to the ground using galvanized steel spikes or landscape staples. You can use these Ram-Pro Galvanized Steel Pegs (on Amazon), Crweety Landscape Staples (also on Amazon), or UPlama Landscape Staples (on Amazon) for this.
Once you’re done with this, you can rest easy knowing that you won’t have to deal with issues caused by stubborn weeds after you’ve installed your synthetic grass.
Apply Roughly 2-3 inches of Crushed Rock
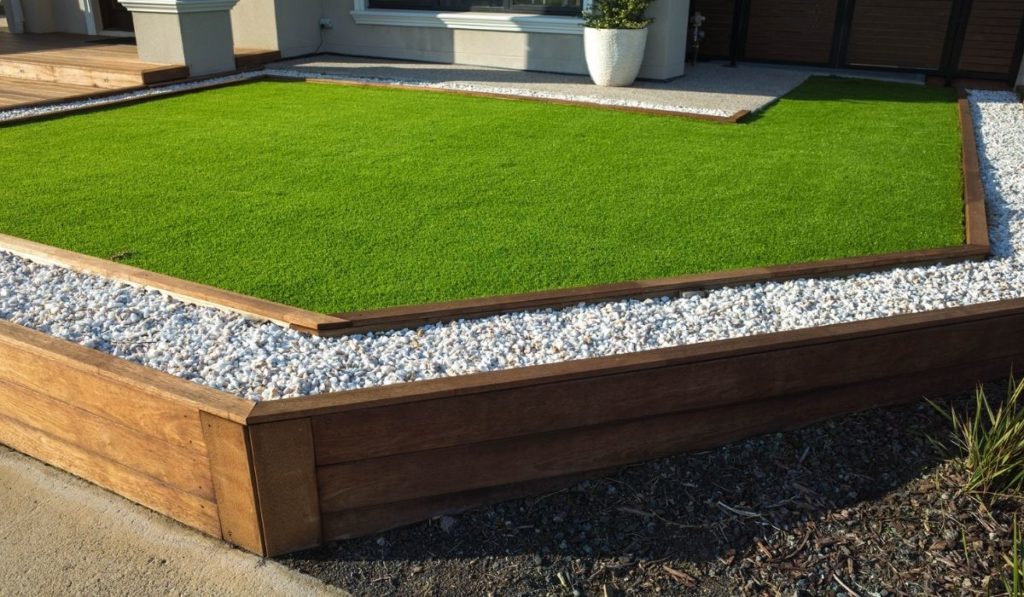
This step is where you spread your base material across your lawn after ensuring natural grass can’t grow on the soil anymore. Note that you must have picked out your base material at this point.
The best materials are CMB and decomposed granite, but many homeowners use any crushed stones or rock. In the end, it’s the application that matters more than the material.
There are two ways you can choose to distribute the crushed rock across the area. You can use a wheelbarrow or a shovel. While both will get the job done, a wheelbarrow will probably be less stressful and will help you cover the lawn faster than a shovel.
It’s recommended to put 2-4 inches of crushed rock on your lawn for easy drainage. After covering the entire yard with the stones, you can use a metal rake, such as this HOSKO 5ft Bow Rake (on Amazon), to spread the rocks across the lawn. If you don’t have a rake, you could also use a paint roller stick, like this PD Multi-Purpose Paint Roller Extension (also on Amazon).
The main purpose of spreading out the rocks is to ensure that the base material is level and reaches every part of the area you want to install synthetic grass onto.
Apply Water to the Crushed Rock
This is the final step in the base laying process. After evenly spreading out the base material, the next thing you need to do is flatten out the rock. The reason for doing this is to ensure the surface is as level and flat as possible. Remember, we mentioned that a flat and level base makes for perfectly installed synthetic grass.
Before you flatten the area, ensure you water the whole area with water to make compacting easier and eliminate dust. Although a watering can will work fine for this, a hose will be far easier and quicker. A light sprinkle is all the rock needs; be careful not to overwater.
Flatten the Crushed Rock
Up next, flatten the rock. You can do this using a plank of wood or something flat, but we would advise using a plate compactor. This tool is much more efficient and will help you achieve that perfectly flat surface.
We know that not many people are likely to have this in their home, but you can always rent a compactor from your local tool hire shop, or if you choose to buy one, you can look at this WEN 56035T Plate Compactor (on Amazon).
Even with a plate compactor, you’ll still need a wood plank or flat tool to reach the edges and corners though – any places a machine won’t be able to reach. By the time you’re done, your crushed rock should look similar to concrete; that’s how you’ll know that you’ve done the job well.
Make sure to double-check that there are no raised areas in the rock layer. If there are, flatten them out. If there are any spots that need filling, add more rocks and compact them. You may not require this, but some people recommend putting down a second weed barrier after compacting the base layer to be on the safe side.
Conclusion
After you’ve completed all of these stages, you’re ready to install your synthetic grass. We have a separate article for this process, so make sure you check it out when you’re ready.

