Debates have been raging for quite some time between professionals on which direction deck boards should run. This is no surprise as when you get your deck boards and go to place them down, you can be left scratching your head, wondering which way they should be facing.
To figure out which direction the boards should run, there are a few factors to look at and consider beforehand. Firstly, it’s important to note that there are many ways to build decks.
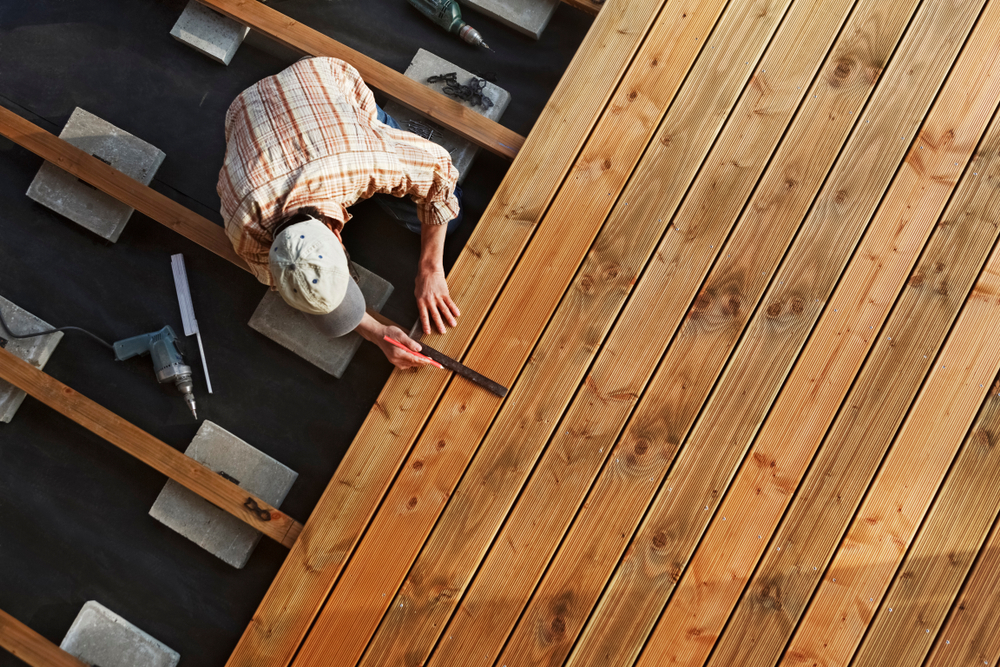
They can be attached to your home via a ledger board or detached from it as a stand-alone decking. Whether your deck boards are attached to your home or not is another matter. What most people are unsure of is if the boards should run parallel to the house or not.
Well, in today’s article, we are going to guide you through the right directions for deck boards to run. We will look at what determines their direction and whether or not there is a correct way these boards should be installed.
Is there a correct way to run deck boards?
The direction in which your decking boards should run depends on a variety of factors. Some of these include:
- The weather
- Where the deck is built
- The size of the decking
- Your personal design
- The cost
Let’s break these down to figure out which way decking should be when considering each factor.
The weather
As with a flat roof, a deck covers a large area meaning it could collect a lot of water during rainfall. Unlike roofs that have gutters to collect the rainfall, decks only have the ground to collect rain. This is why your boards must run in a direction so the water doesn’t run into or close to your home.
If rainwater collects around the structure of your home, it could cause rising damp and result in a whole host of problems.
If your deck is attached to your home, it must always direct water away from your property. Decking boards with grooves or castle tops are designed to channel excess water away from the deck. Therefore, a gradient (slope) should be built into the board’s structure so water can run off efficiently.
The general rule is that the slope should be at a ratio of 1:100. In other words, a 10mm fall for every 1m of decking. For instance, if your deck is 3m long, it will require a fall of 30mm.
The location of the decking
This is what usually determines the direction of deck boards. Imagine the boards are to be built off the house and the kitchen tiling runs a certain direction.
Well, the boards will look better if they run parallel to the property and in the same direction as the kitchen flooring. If the tiles run perpendicular, then you should place the deck boards down in the same direction. This is simply down to an aesthetic point of view.
So, if the decking is coming straight from a tiled area or a room with floorboards, try and run them in the same direction. Of course, if you like to go against the grain and want both horizontal and perpendicular directions, then you can go ahead and do this too.
This is all about a matter of personal choice.
If you’re running decking in the garden, you can run the boards any way you wish. But consider using groove-type boards for natural drainage.
If your decking is next to a shed or summer house and you’re using groove-type boards, slope them away from the structure. If you’re using smooth plain timber, keep them level and in any direction, you please.
The decking size
Depending on the overall size of your decking, it is generally desirable to have full-length deck boards with no cuts or joins to run the whole length or width of your deck.
If you use full-length boards, your decking will be stronger. Continuous, full-lengths will limit the risk of twisting and warping, especially in wooden boards.
We suggest running the boards parallel to the length as it tends to give the deck a much larger look. If you decide to run the boards parallel to the width, the deck will usually look a little stumpy and not as aesthetically pleasing.
As with the location, it is a matter of personal preference. But, if you’re unsure on which direction to run them, then we recommend fitting them so that they run parallel with the longest side of the deck.
Personal design
There are other directions you can use rather than horizontal and perpendicular. These include:
- Diagonal
- Herringbone
- Brick effect
- Picture framing
Laying deck boards in a diagonal direction helps it stand out. This can be a little tricky to install but once you have a few boards down, you just repeat the process.
Herringbone designs give your decking a zip-like look. If you want something unique, this is a great one to go for.
The brick effect is very simple to make but you just have to ensure both boards meet up on top of a joist. As you can guess, you will be left with a deck that looks like bricks!
For the ultimate professional look, consider a picture framing deck. But, be warned, this is not an easy deck to make. Numerous amounts of joists and cross-sections will be required to make this confusing yet elegant design. This is also one of the most expensive designs.
The cost
If you go with a design other than a standard layout, you may need to re-plan your whole decking structure. This means more joints and possibly another bearer or so. More intricate designs will cost more but it’s usually worth it in the end.
Whichever direction your deck ends up, ensure you research and do all the necessary preparation beforehand so you end up with the best possible decking for your space.

