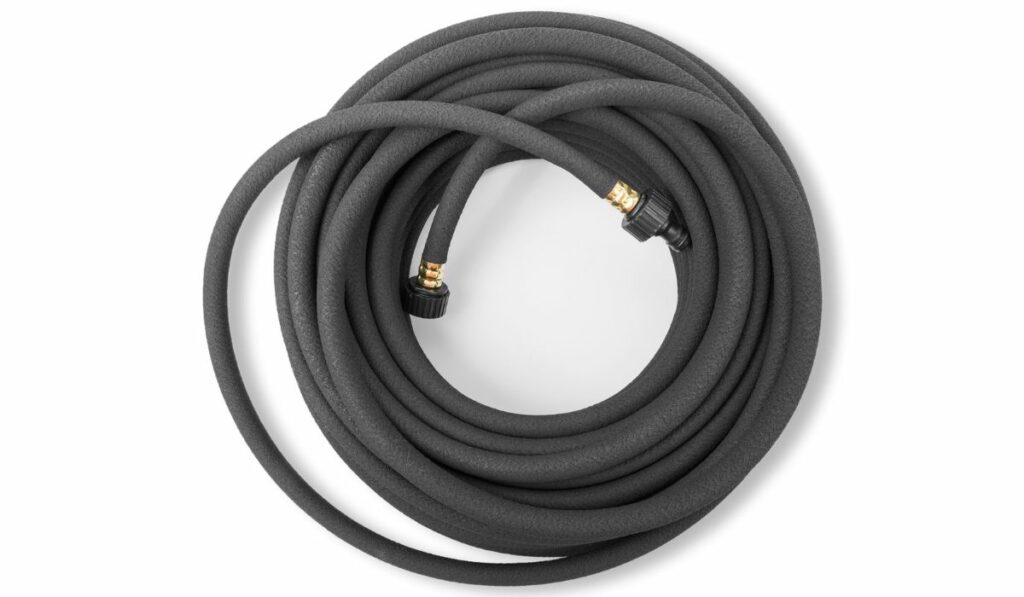
A soaker hose seeps water slowly and evenly along its entire length directly to plant roots. Burying your soaker hose increases moisture retention and protects it from damage by insulating it from the sun and punctures from yard equipment. So, how do you go about burying your soaker hose?
To bury a soaker hose, choose an organic mulch such as cedar chips, pine bark, or coconut coir and spread a 2-3-inch layer over the hose. Don’t pile mulch too high, as it can block the hose pores and reduce efficacy. Monitor the moisture, and adjust the mulch or watering cycle accordingly.
Let’s look at how to install and maintain a soaker hose system and the benefits of using soaker hoses. You’ll also learn how to bury your soaker hose for optimal results.
Burying a soaker hose can extend its lifespan and increase effectiveness by protecting it from wear and tear caused by ultraviolet rays, foot traffic, and yard equipment.
However, because soaker hoses have tiny pores that allow water to seep out slowly and evenly if buried in soil, particles can get trapped, blocking the flow of water and reducing effectiveness.
On the other hand, mulch will not clog the pores and helps retain moisture in the soil, which is essential for optimal plant growth. So, when burying your soaker hose, use mulch rather than soil.
How to Install a Soaker Hose System
You can install a soaker hose system in your garden or yard in just a few simple steps. Here’s how to do it:
Layout the Hose for Optimal Plant Coverage
To get started, determine where you want your soaker hose to go. Once you’ve done that, lay the hose in the desired pattern. It’s essential to ensure the hose covers all the plants you want to water.
You can use garden stakes, like these from Feed Garden (on Amazon), and string to mark out the hose’s path before you lay it down to give you a clear idea of where the hose needs to go and how much length you’ll need. Then, once you position your hose, you can use the stakes to secure it.
Attach a Pressure Regulator
A pressure regulator, like this one from Hydro Master (on Amazon), attaches to the faucet to monitor the water pressure going through the hose. Too much pressure can damage the hose, and too little won’t provide adequate watering for your plants.
Just be sure to get one compatible with the faucet thread size. Most garden hoses are 3/4-inch GHT (Garden Hose Thread) or NH (National Hose) thread size, but it’s always best to check before you buy.
After attaching the pressure regulator, turn on the water and check the pressure. It should read between 8-10 psi (pounds per square inch) to work effectively.
Attach the Soaker Hose
Now that the pressure regulator is in place, you can attach the soaker hose. To do this, screw one end of the hose onto the faucet until it’s snug.
If your soaker hose is brand new, you’ll need to flush it before using it. To do this, remove the end cap and let the water run through the hose to clear out any debris that may have gotten into the hose during manufacturing.
You can also allow the hose to set in the sun for around an hour to loosen the coil before using it to make it easier to work with and less likely to kink.
After flushing the hose, replace the end cap, turn on the water and adjust it to the ideal pressure. Then inspect the hose to ensure that water is dripping evenly along the entire length. If it’s not, adjust the pressure until it is.
Bury the Hose Under Mulch
Once the hose is in place and working correctly, it’s time to bury it.
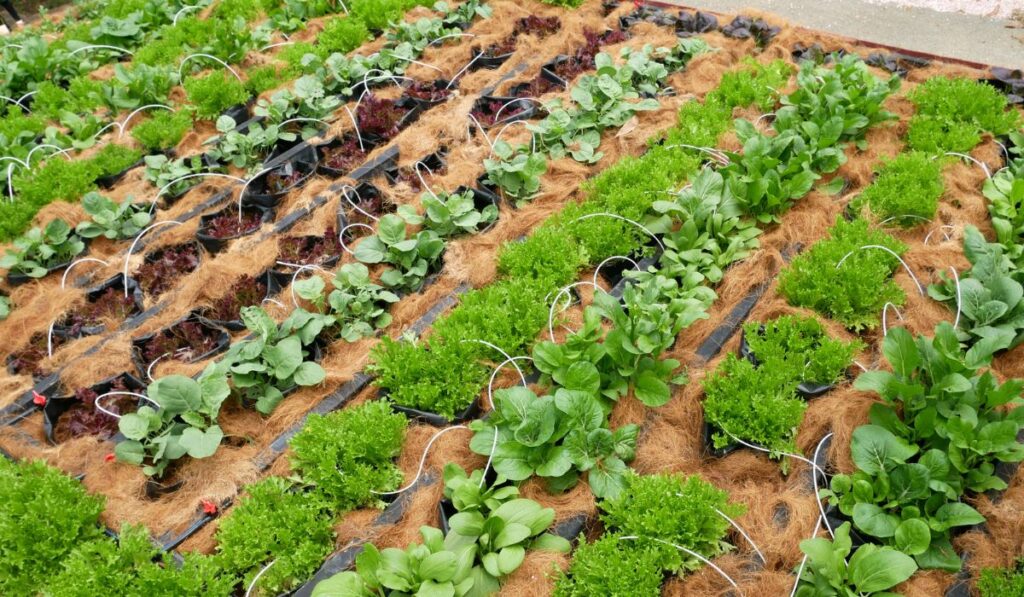
To do this, cover the hose with mulch. Some good options include cedar chips, pine bark, or coconut coir (on Amazon). The most important thing is to ensure it’s organic so it won’t harm your plants.
Mulches to avoid include dyed ones because they can leech into the soil and may be harmful to plants and animals. In addition, some mulches, such as black walnut, release allelochemicals, inhibiting the growth of other plants nearby. So, it’s best to steer clear of those as well.
A 2 to 3-inch layer should be sufficient to prevent evaporation and retain moisture most effectively. Just be sure not to pile the mulch too high, as this can block the pores and reduce the hose’s effectiveness.
How to Maintain Your Soaker Hose System
To extend the life of your soaker hose system and keep it working optimally, you should do a few things regularly.
Check for Damage
Check the system regularly for leaks, cracks, or kinks. Any damage to the hose can reduce its effectiveness and cause problems down the road. If you find any damage, repair it as soon as possible. For example, you can straighten a kink, while cracks require replacing the hose.
Depending on their location, an end cap or coupling can be used to repair leaks. Cut the damaged section out of the hose and attach a new coupling or end cap. You may be able to repair small leaks with sealant or self-fusing tape (on Amazon).
Flush Out Your Hose
Another maintenance task you need to do regularly is flushing the hose. To do this, unscrew the end cap and let the water run through the hose until it’s clear to improve performance by removing any sediment built up over time. Aim to do this at least once a year or more often if you live in an area with hard water.
Tell Others
Finally, make sure everyone who uses the garden knows about the soaker hose to help prevent accidental damage to the hose.
What are the Benefits of Soaker Hoses?
Soaker hoses have several benefits that make them an excellent choice for gardeners. They’re easy to use, efficient, and economical. Let’s take a closer look at each of these benefits.
Ease of Use
Soaker hoses are extremely easy to use. You attach one end to the faucet and bury the other in the soil. There’s no need to dig trenches as with a sprinkler system or hand-water your plants.
Once the hose is in place, all that’s left to do is to turn on the water and adjust the flow rate. The holes along the hose length will evenly distribute water to plant roots, where it’s needed most.
Economical
Soaker hoses also tend to be more economical than other irrigation systems because they use less water. So, you’ll save money on your water bill and reduce the wear and tear on your hose.
Also, soaker hoses are durable and can last for years with proper care, making them a worthwhile investment.
Improved Moisture Retention
Because soaker hoses deliver water directly to the roots, they help improve moisture retention in the soil, which is especially beneficial in sandy or well-drained soils that tend to dry out quickly.
Decreased Evaporation
When water evaporates before it has a chance to reach the roots of your plants, it can lead to wilting and stress. Soaker hoses reduce evaporation by slowly releasing water directly to the roots, which helps keep your plants healthy and hydrated.
Reduced Weeds
Weeds compete with your plants for water, nutrients, and space. By delivering water directly to the roots of your plants, soaker hoses can help reduce the number of weeds in your garden.
Easier to Install
The installation of soaker hoses is straightforward and can be done throughout the afternoon. They can be laid on the ground or buried beneath the soil surface. Additionally, soaker hoses can be easily cut to size, making them perfect for any garden.

")


