Soaker hoses are a simple and efficient way to water your plants and garden. But what should you do if you don’t have the length of hose you need to reach all your plants? Can you connect multiple soaker hoses together?
You can connect two or more soaker hoses to a single spigot as long as the total length doesn’t exceed 100-150 feet. Use a quick-connect adapter or a standard coupling and hose clamp to join the hoses together. If you need to connect more than two hoses, you’ll need to use a T-connector.
Let’s take a closer look at how to connect multiple soaker hoses and how to time the watering appropriately. We’ll also go over some additional tips to make sure your garden is getting the hydration it needs.
Connecting multiple hoses is an easy way to increase the coverage of your soaker hose system. However, there are a few things to keep in mind to ensure optimal results.
The hose closest to the water supply will release the most water because water pressure decreases the farther away the hose is from the source. That means that the end of multiple hoses will get much less water, and this could affect the health of plants in those areas.
You’ll therefore want to make sure the hoses are no longer than 100-150 feet long in total to prevent uneven water distribution.
A splitter with a shut-off valve — like this one (on Amazon) — can switch the water flow from one hose to another, and is a convenient way to distribute water evenly. That is especially important if you have different “zones” in your yard that need different amounts of water.
How to Connect Multiple Soaker Hoses
Now that we know it’s possible to connect multiple soaker hoses, let’s look at how exactly to do it. The process is simple and requires only a few supplies that you probably already have around the house.
If you’re using new hoses, you’ll need to prepare them before installation, which involves softening the hoses to be easier to work with by uncoiling them and letting them sit in the sun for an hour.
If you’re using old hoses, it’s a good idea to flush them out before connecting them to remove any dirt, debris, or other build-up that could clog the hoses or impede the water flow.
2. Plan and Lay Out Your Soaker Hoses
Now it’s time to plan where your soaker hoses will go based on the size and shape of your garden bed and the number of hoses you use. You can sketch your plans on paper or use the string-and-stake method.
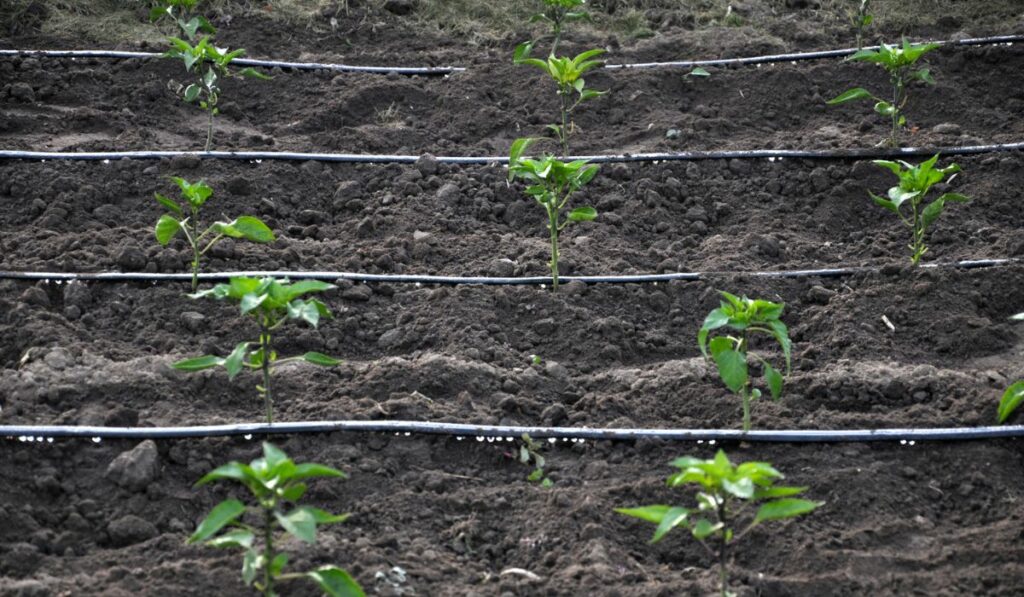
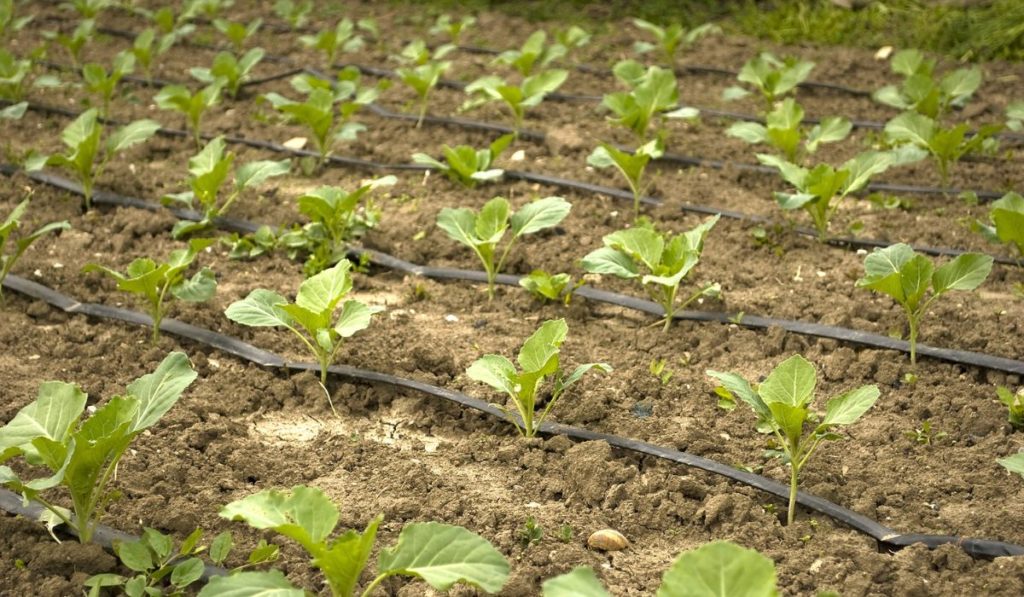
Because soaker hoses don’t scatter water like other systems, you’ll want to make sure that each hose covers the root system of as many plants as possible without touching the stems to prevent rot or disease.
Start from the first row and lay the hose over the root system of each of the plants. Then, curve around the plants to cover the root systems down the next row, and so on.
As we mentioned earlier, the total length of the hoses should not exceed 100-150 feet because beyond that, water pressure decreases significantly and could lead to uneven watering.
Instead, you’ll need to ensure each hose’s end can reach the faucet, and use a hose splitter with a shut-off valve to distribute the water flow evenly.
3. Cut and Connect the Soaker Hoses
To connect your soaker hoses, start by attaching one end of the first hose to the other end of the second hose using a quick-connect adapter — like one of these (on Amazon). Then, remove the cap from one end and use the adapter to join the two hoses.
Now it’s time to test your soaker hose system before using it on your garden beds. To do this, turn on the water at the faucet and check all the connections to ensure there are no leaks.
Once you’ve confirmed that everything is secure, let the system run for a few minutes to be sure that water is flowing evenly through all the hoses.
If you notice any issues, make the necessary adjustments and retest the system until it’s working correctly. Then, cover the hoses with mulch to help prevent evaporation and ensure optimal results.
How to Assess Proper Watering Timing
Ideally, you should water your garden deeply and less frequently rather than shallowly and more often. To time your watering correctly, you’ll need to consider a few different aspects, including:
The Type of Plants You’re Watering:Most vegetables need about one to two inches of water per week, while most annual flowers need about one inch per week.
The Type of Soil You Have: The soil type can also affect how often you need to water your plants. For example, sandy soil drains quickly, so you must water it more frequently than clay soil.
The Temperature and Humidity: The temperature and humidity can also affect how often you need to water your plants. It’s necessary to water your plants more often if it’s hot and dry outside, for example.
The Amount of Rainfall You’ve Had Recently: Another factor to consider is the amount of rainfall you’ve had recently. You won’t need to water your plants as often if it’s been raining a lot. But if it hasn’t rained in a while, your plants need to be watered more often.
Now that you know what factors to consider, you can assess your plants’ watering needs. Typically, you’ll need to water your plants every three to five days during the growing season.
If you’re unsure how often to water your plants, try this method: Stick your finger in the soil near the plant. If the soil feels dry, it’s time to water, but it doesn’t need water if it feels moist.
Watering each zone for 30 minutes two times a week should be sufficient. But, as always, it’s best to monitor your plants and adjust accordingly.
Troubleshooting Tips and Finishing Touches
If you’re having trouble getting your soaker hoses to work correctly or you’re not getting the results you want, here are a few troubleshooting tips that may help:
Clean the Hose Ends
If the water isn’t flowing evenly through your hoses, it may be because the hose ends are clogged. To clean them, remove the end caps and flush out the hoses with a garden hose.
You can also soak the hose ends with the cap on in a bucket of diluted vinegar or CLR (on Amazon) for a few hours to help remove any build-up.
Adjust the Water Pressure
If the water pressure is too high, the water will come out too quickly and run off the hoses before it soaks in.
If the water pressure is too low, the water will come out very slowly and won’t cover as much space.
To adjust the water pressure, turn the valve on the faucet until the water flows at the desired rate. Water should slowly seep out of the hoses; it shouldn’t gush or spray out.
Move the Hoses Around
If you’re not getting the coverage you want, try moving the hoses around to different areas of your garden. You may also need to add more hoses to cover a larger area.
If you’re still having trouble, there are a few other things you can try, including:
Checking for leaks in the hoses or connections
Adding an inline shut-off valve to help control the flow of water
Using a soaker hose with a timer to help automate the watering process
You should also use soaker hoses on level ground for optimal coverage. So, if you have a hilly garden, you may need to use multiple hoses or change the placement for desired coverage.


")


