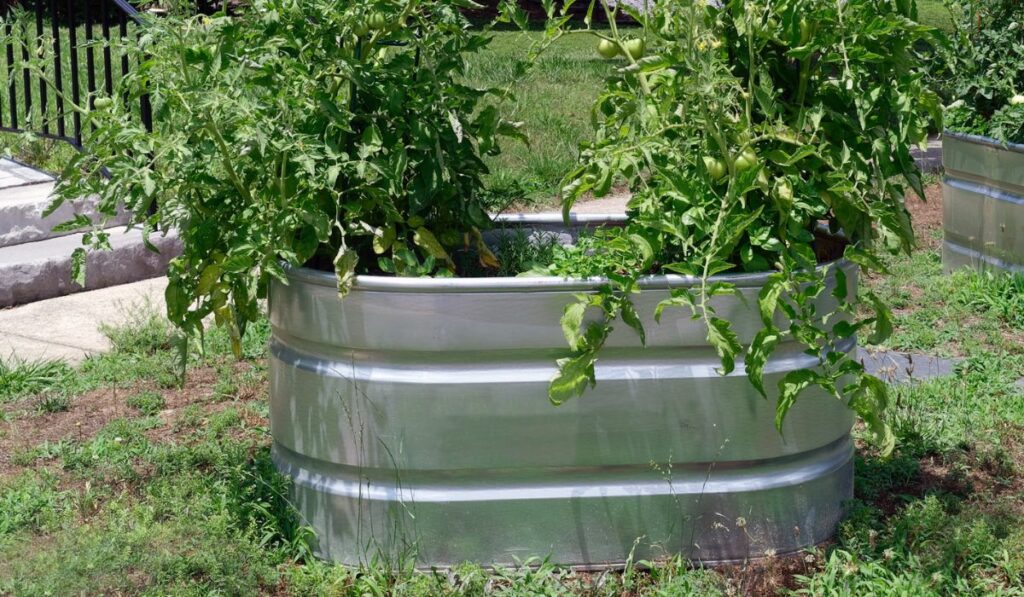
Galvanized steel plant beds have gained popularity in recent years, with a number of companies making galvanized steel raised bed kits that are safer to use, easier to assemble, and guaranteed to last much longer than any type of wood. While galvanized plant beds are relatively expensive, they’re the best low-maintenance and long-term solution for most home gardeners.
You can safely use galvanized steel for plant beds since the material is durable, long-lasting, sturdy, and resistant to rot. Because it’s an excellent heat conductor, it also helps extend the growing season. There are commercially-made steel plant beds available or you can build your own.
While it might seem like a no-brainer to opt for galvanized steel plant beds, there are still a few things you should keep in mind. Let’s take a closer look at whether it’s a good idea to use galvanized steel for raised beds and how it compares to wood, so that you construct or purchase a raised bed that will last you as long as possible.
You can definitely use galvanized steel for raised beds; in fact, it’s one of the most popular materials for plant beds today. Galvanized beds are sturdy, durable, resistant to rot and damage, and incredibly long-lasting.
They look great and give a more industrial or ranch-like vibe to your backyard. They also won’t contract or swell, don’t need to be regularly painted or oiled for maintenance, and will withstand almost everything that nature will throw at them.
What Is Galvanized Steel?
Galvanized steel is steel that has a layer of zinc bonded on its surface. This additional layer helps prevent the steel from rusting when it comes in contact with moisture.
Most steel is galvanized using a hot-dip process. Sheet steel is completely submerged in molten zinc, which results in a uniform layer over the steel’s surface. In some instances, the metal is also cooled to allow zinc to bond fully, and then it’s re-dipped for another coating.
However, it’s important to note that galvanized steel isn’t always coated in zinc. Some galvanized steel is hot-dipped in an alloy. For instance, aluzinc, a combination of zinc and aluminum, is also commonly used in hot-dipped galvanization.
What Are the Benefits of Using Galvanized Steel?
Galvanized steel is perfectly safe for constructing raised beds, as it doesn’t negatively affect your plants. Along with being strong and extremely durable, the material has several other advantages, such as:
Long Life
Metal is most commonly damaged by rust. But since galvanized steel doesn’t easily rust, it has a relatively long life. In fact, most galvanized metals last for around 50 years or more.
Reliability
Galvanized steel is extremely strong and durable, so you can be sure that your raised beds won’t collapse or fall out of the blue.
Extended Seasons
Since galvanized steel can conduct heat, it stores the sun’s heat and transfers it to the soil closest to the edge of your raised beds. This heat helps extend the growing season, allowing you to grow heat-loving plants even into late autumn.
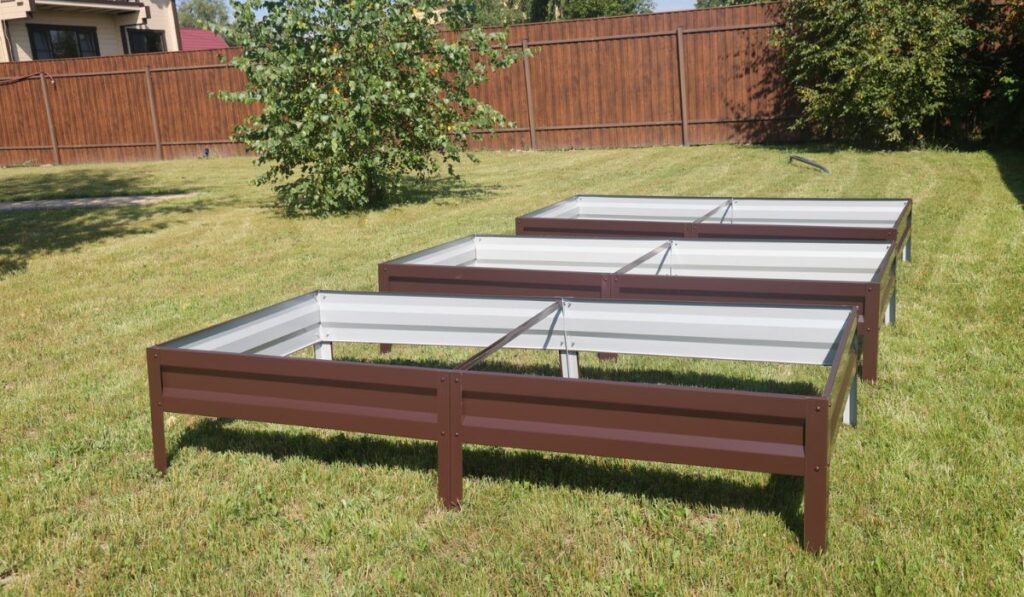
How to Build a Galvanized Steel Raised Garden Bed
While commercially-made galvanized steel raised garden beds are available — such as this one from Mr IRONSTONE (on Amazon) — you can also build your own. Here’s what you need to do to build an 8’ x 4’ raised bed:
Materials Needed
Two 8’x4”x4” cedar boards
Three eight-foot corrugated galvanized steel roof panels
Three 10’x2”x6” cedar boards
Three 10-foot lengths of ½-inch galvanized conduit
Tin snips or a circular saw with a metal cutting blade
Tape measure
Pencil for marking cut lines
Cut List
Cut the 4”x4” cedar boards into six pieces, measuring 26” long with a miter saw.
Take two 2”x6” cedar boards and cut them into two pieces, measuring 99 ¾” long each using a miter saw.
Take the remaining 2”x6” cedar board and cut it into two pieces, each measuring 51 ¾” long.
Use tin snips to cut the roof edge into four pieces, each measuring 26” long.
Use the pipe cutter to cut the conduit into eight pieces, each measuring 40” long.
Cut one corrugated roof panel in half widthwise using the circular saw or tin snips.
Steps
Step 1: Assemble Two Panels
Place two 26”x4”x4” cedar boards next to each other, around eight feet apart, on a big, flat surface. Place one of the eight-foot corrugated panels on top of the 4”x4” pieces, so that it rests over both ends like a bridge.
Use four 1” self-drill screws to screw the panel onto the 4”x4” piece. Start at the panel’s first groove, and then skip two grooves for every screw. Repeat this step with the remaining eight-feet panel and two more 26”x4”x4” cedar boards.
Step 2: Make the Corners
Have someone lift one of the assembled panels and hold it in an upright position. Take one half of the cut corrugated panel, lift it upright, and place it against one end of your assembled eight-foot panel so that it creates a 90-degree corner of the raised bed.
Use four one-inch self-drill screws to screw the panel into the 4”x4” cedar board. Again, start at the panel’s top ridge and skip two ridges for every screw.
Repeat this step with the other half of the cut panel, screwing it to the other end of the assembled panel and creating another corner of the raised bed.
Step 3: Complete the Basic Frame
Have someone lift the remaining eight-foot assembled panel and place it right between the two half-cut panel ends, so you have a complete rectangle.
Screw the half-cut panels into the 4”x4” cedar boards of the assembled eight-foot panel. You should now have the basic frame for your 4’x8’ raised bed. Place the four-sided frame where you want your raised bed to be permanently.
Step 4: Anchor the Bed in Place
Use the tape measure, sledgehammer, and eight 40” pieces of conduit to anchor the raised bed in place. First, measure the halfway point on any of the raised bed’s sides.
Then, get as close to the corrugated panel as possible and hammer in a piece of conduit around six inches deep into the ground at this halfway point. Repeat this step with the remaining three sides, making sure that the bed is still placed where you want it, as it might have shifted slightly during the hammering process.
After adjusting as needed, measure the halfway point between one end of the bed and the previously hammered conduit on one of the eight-foot sides. Then, hammer another piece of conduit at this halfway point. Do this on the other side of the originally hammered conduit.
Hammer in two more conduit pieces at the other eight-foot side as well. Hammer in all conduits until their tops are perfectly level with the tops of all the corner 4”x4” posts.
Step 5: Add Additional Support
Take the two remaining 4”x4” cedar boards, lift them upright, and place them against the middle of each eight-foot corrugated panel on the inside for your raised bed for additional support.
Secure the 4”x4” piece on the inside, just to the right or left of where you’ve hammered the conduit piece on the outside. Screw the piece with one-inch self-drill screws, and then repeat this step on the other side.
Step 6: Add the Top Rails
For the top rails, place one of the 99 ¾”x2”x6” cedar boards on top of the 4”x4” supports screwed to the eight-foot panel. Make sure the rail’s inside edge matches up perfectly with the inside corner of your 4”x4” corner posts.
Screw both ends of the rail into the 4”x4” cedar boards using one or two three-inch screws for each corner post. If you’re unable to do so because the conduit is sticking up too high, simply hammer the rail lightly until it rests on your 4”x4” supports.
Step 7: Complete the Top Rails
Place one of the 51 ¾” boards on one end, so it sits right next to the top rail you just fastened. Then, use three-inch deck screws to fasten the board to the middle and corner 4”x4” supports.
Take both the remaining 51 ¾” and 99 ¾” top rails and place them on top of the remaining corner supports at the same time. Adjust them as needed, so they hug the rails you’ve already fastened. Once they’re flush, use a few three-inch deck screws to fasten them to their respective middle and corner supports.
Step 8: Attach the Roof Edge
Attach the cut galvanized roof edges to all four corners of the raised bed, so the sharp edges of the roof panel don’t injure you. You’ll need four self-drill screws for every 26” corner piece — two at the bottom and two at the top for each side. Repeat this step for all four corners.
Step 9: Smooth Down the Edges
In this last step, sand down the cedar top rails, so you don’t have to worry about any splinters from your galvanized steel plant beds. Then, fill up the bed with soil, and start planting!
Galvanized Steel vs. Wood: Which Is Better for Raised Beds?
The answer to this question ultimately depends on your budget and circumstances. If you have a large budget, the answer comes depends on your preferred style, as you’ll get excellent results with both cedar and galvanized steel.
Some people love the rustic look of wooden raised plant beds, while others prefer the industrial finish of galvanized steel.
However, if you’re on a small budget, then it’s better to opt for wood. Wooden raised plant beds are easier to construct, and you can salvage wood for free as well. The material is also more flexible in terms of customizability and design.
On the other hand, galvanized steel is a much more durable solution for gardeners who live in humid climates. They’re also more suitable for people who have mobility issues or don’t want to regularly fuss with their raised garden beds.
Since standard galvanized steel plant beds only measure two or three feet high and last for decades, they make it much easier to plant and maintain vegetables and flowers as well.


")


