Adjusting your sprinkler head rotation according to your needs can help you save a lot of trouble. For instance, you can align it, so it doesn’t spray sidewalks, driveways, and wastewater. Similarly, you can prevent it from overwatering your lawn, which can otherwise cause it to go dormant.
To adjust the sprinkler head rotation, determine the kind of sprinkler head you have and your lawn’s watering needs. Then, using the correct type of screwdriver, move the screw/keyhole towards the right or left to adjust it according to your needs.
How you can adjust the sprinkler head rotation depends on the kind of sprinkler head you have—we’ll take a look at how you can adjust all three types. We’ll also go through why you need to adjust the sprinkler head and the tools you need to get the job done.
Adjusting your sprinkler head rotation involves a number of things, but before you start, you need to do three things.
First, you need to identify the kind of sprinkler you have. Different sprinkler heads are adjusted differently, so you must determine the type fitted in your garden. We go into the different types of sprinklers later.
Second, you must determine the lawn’s watering needs and identify parts that need more or less water. For instance, areas with withered or brown grass will need more water, while swampy-looking or soaked areas will need less water.
And third, ensure you have all the tools you need (discussed below). You can start the adjustment process with these three tasks out of the way.
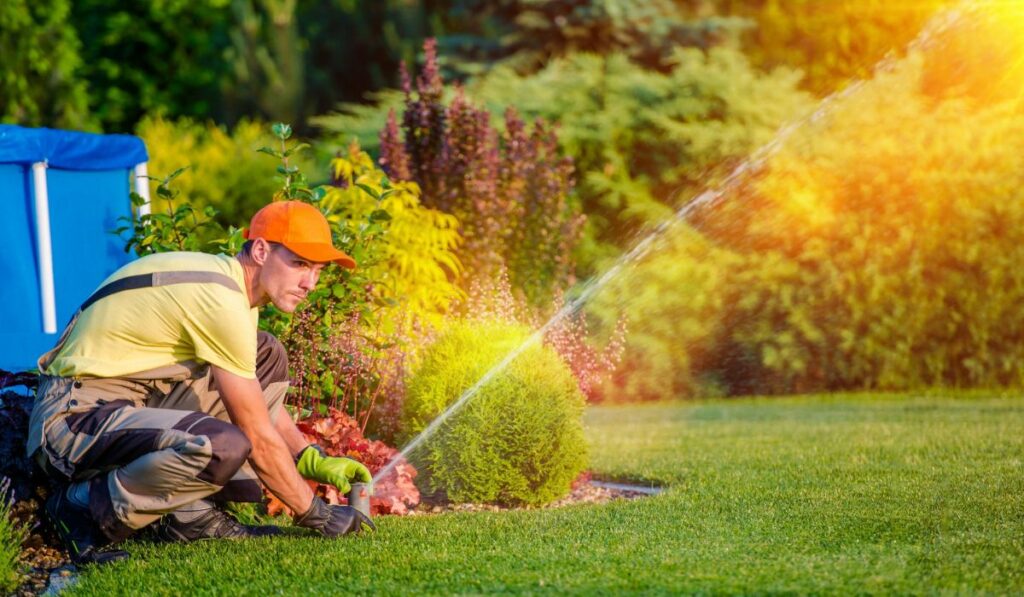
Switch on the irrigation system and stand behind the specific rotor you wish to adjust. Make sure not to look at it directly; otherwise, the water pressure can hurt you.
Turn the head completely to the left to finish the cycle that the rotor might be in the middle of.
Apply pressure to the top of the head and turn it towards the right until the spraying stops to find the right stop point. Don’t push the rotor any further. At this point, the rotor should be facing toward the far right.
At the top of the rotor head, you’ll find a + and – along with a tiny keyhole.
Now, insert the key end of the rotor adjustment tool into the keyhole. The key end is the plastic part of the tool.
Hold the rotor head at the right stop point while turning the key. Turn it to the left to increase the arc and to the right to decrease it.
Once you’re happy with the adjustment, you can remove the key from the keyhole.
Let the sprinkler head rotate. Then, look at the water flow to ensure that the spray distance and arc adjustment are what you want.
Repeat the steps above until the spray radius and water arc match the needs of your lawn.
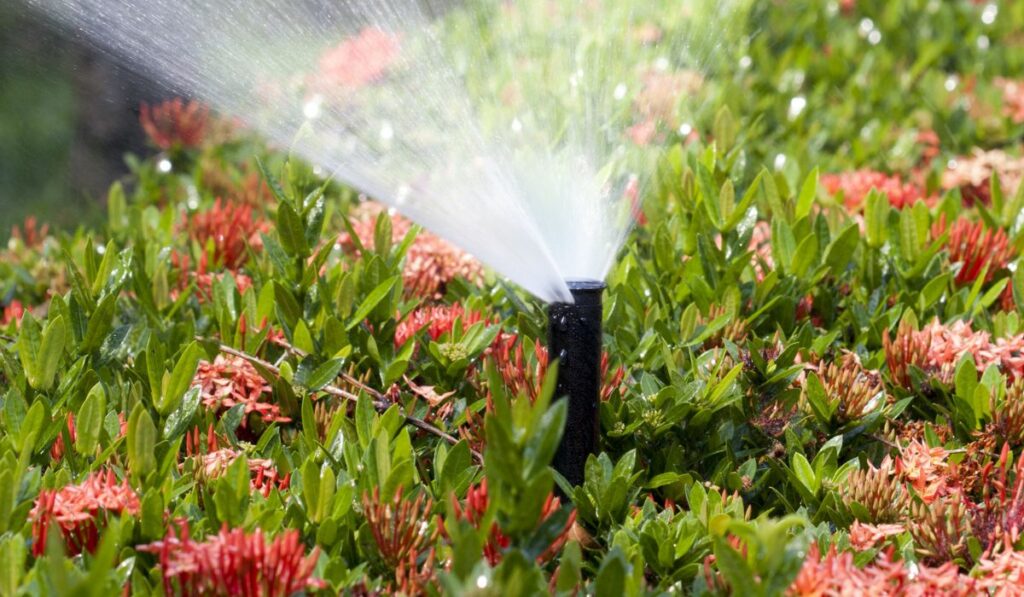
Check the kind of spray nozzle on the sprinkler head. In the case of a fixed spray nozzle, you’ll have to replace it since it’s impossible to adjust it. For example, you can’t change an 8-feet quarter pattern nozzle to spray differently. But if you have a variable arc nozzle, you can move on to the next step.
Now, to adjust the arc pattern, find the small screw present on top of the nozzle. Turn the screw using a flat-headed screwdriver to increase or decrease the nozzle opening’s radius.
For the arc position, adjust the stem to cover your desired distance.
Adjusting Impact Sprinkler Heads
Regarding impact sprinkler heads like this one from Orbit (on Amazon), adjusting the arc and spray involves one step. All you need to do is rotate the head to the right to increase the arc and to the left to decrease it. Then, you can use an adjustment ring to get a better hold of the nozzle.
Why Would You Need to Adjust Your Sprinkler Head?
Different parts of your lawn require different amounts of water. For instance, the part of your lawn that gets direct sunlight needs more water than an area that receives more shade.
Plus, some parts of the garden might not drain too well, so they don’t need a lot of water.
Adjusting the sprinkler heads ensures they provide the right amount of water to the different parts of your garden. You might also need to adjust the sprinkler head as it becomes too hot or as the cold settles in. This will make sure that the spray pattern is enough for your lawn.
What Tools Will You Need?
The tools you need slightly differ, depending on the kind of sprinkler you have. For instance, in the case of a rotor nozzle, you’ll need a rotor adjustment tool, while in the case of a pop-up sprinkler, you’ll need a flat-head screwdriver.
In addition, you’ll also need gloves, goggles, and a raincoat if you don’t want to get wet.
Usually, manufacturers also sell adjustment tools suitable for their sprinkler heads, so before getting started, check those out and order them if you don’t already have them.
Determining Your Sprinkler Type
There are three kinds of sprinklers.
Rotor Sprinkler
A rotor sprinkler is driven by a gear and moves back and forth. It provides a single stream of water and is a good option for large turf areas. In addition, its extended spray coverage offers greater coverage.
Pop-up Sprinkler
Pop-up sprinklers are one of the most popular choices for yards. Their head rises from the ground once it detects pressure. These sprinklers don’t turn while spraying but provide a circle spray.
Impact Sprinklers
These are also known as multi-trajectory sprinklers, spraying in different directions because of their multi-trajectory stream. They have a long spray radius and ensure uniform distribution of water.