By adjusting Rain Bird pop-up sprinklers, you can make sure that your lawn gets sufficient water in the right spots. You can also limit the amount of water wasted on driveways and sidewalks. Luckily, adjusting these sprinklers is a breeze.
To adjust a Rain Bird pop-up sprinkler, fit a screwdriver into the arc adjustment slot at the bottom of the sprinkler head. Turn it clockwise to increase the distance and counterclockwise to decrease it. Do the same thing on the adjustment slot on the top to change the rotor radius.
Now that you’ve got a general idea of how it works, let’s take a closer look at exactly how you can adjust the pop-up head and spray pattern. We’ll also take a look at how you can change the nozzle of the sprinkler as well as how to troubleshoot some common sprinkler issues.
What Are Rain Bird Pop-Up Sprinklers?
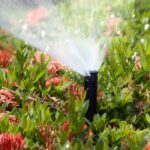
Rain Bird pop-up sprinklers (on Amazon) are sprinklers that are hidden underground and set to retract and pop up using timers. They feature a heavy-duty spring that makes sure they retract, and you can adjust them in different ways to control the amount of water and distance they cover.
They typically spray a solid stream of water (from the rotating head) that can easily cover a large part of your garden or lawn.
How Do You Adjust a Rain Bird Pop-Up Sprinkler Head?

It’s very easy to adjust the sprinkler’s rotor radius, arc distance, and left and right stop. Let’s discuss each aspect in turn.
Adjusting the Sprinkler Arc Distance
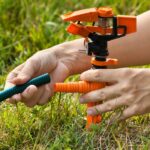
Adjusting the arc distance of your Rain Bird pop-up sprinkler is quite simple and involves a large screwdriver that can fit the arc adjustment slot, which is present at the bottom right in the middle of the sprinkler head.
Hold the nozzle and twist it to the left fixed stop. While keeping it in its place, put the screwdriver in the adjustment slot and twist it clockwise towards the ‘+’ sign to increase the arc distance or counterclockwise towards the ‘–’ sign to decrease it.
Adjusting the Rotor Radius
To change the radius of the sprinkler head, you’ll need to adjust the rotor radius. The process to do so is quite similar to the process of adjusting the arc. Again, use a screwdriver to grip the adjustment slot present at the top of the head and rotate it clockwise to decrease the radius and counterclockwise to increase it.
Adjusting Right and Left Stop
To adjust the left stop setting, rotate the sprinkler head completely to the right and then turn it back all the way to the left to find the hard stop setting. Once the head stops on the left, that means you’ve found the hard stop and it won’t go past that point.
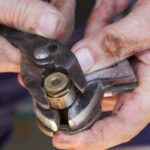
Now, grip the head using 12-inch tongue-and-groove pliers (on Amazon) and rotate it clockwise. Make sure to stop at the desired point on the left. If needed, you can tape the pliers’ teeth to prevent damage as you adjust the sprinkler head.
Once you set the left side, use a screwdriver for the right stop setting. Turn the turret completely to the left and then back to the right. Stop when you get to the desired right stop point. Then, put a screwdriver in the adjustment slot, hold the turret firmly, and turn it counterclockwise towards the left stop and then back to the right.
How to Change the Sprinkler Nozzle
To change the nozzle of the sprinkler, switch it off and make sure it’s not hooked to running water to make the task easier. Using pliers, firmly hold the nozzle and turn it to the left to unscrew it from the sprinkler head.
Look at the sprinkler head. You should be able to see a filter screen right below where the nozzle is present. Use small pliers or your fingers to remove it. Look for buildup, dirt, or debris on the filter screen.
If it’s in good condition, you can just rinse it and use it again. But if it’s old or in really poor condition, you should get a new one.
Once you clean the gunk off the screen or get a new one, put it back in the sprinkler. Then, place the nozzle back on the sprinkler head using pliers and turn it clockwise until it’s secure.
How to Adjust the Spray Pattern
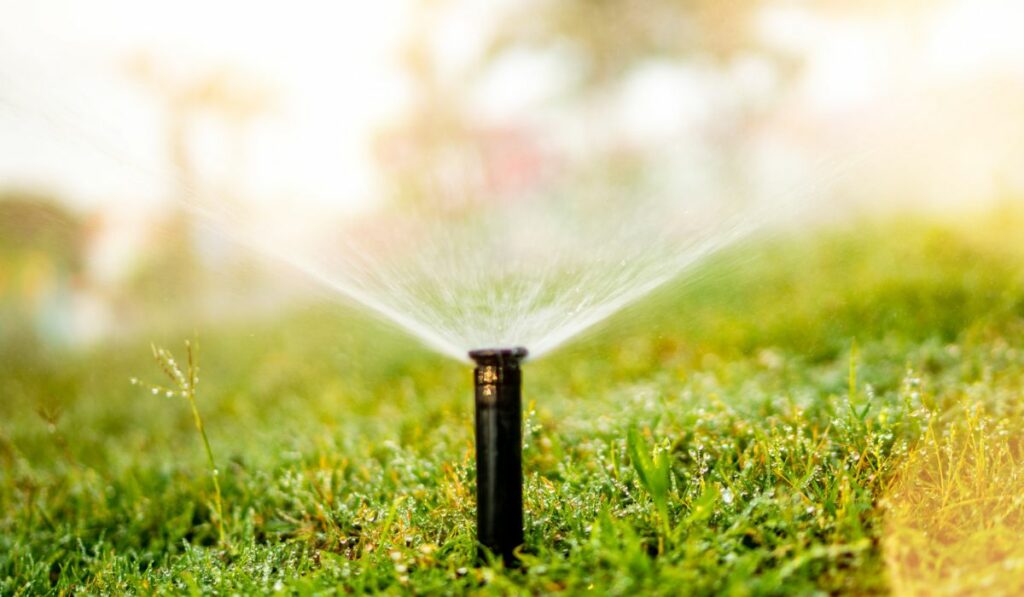
To adjust the spray pattern on an adjustable sprinkler head, twist the collar with your fingers. You can adjust it from 0 to 360 degrees; to increase it, move the threaded collar towards the left, and to decrease it, move it towards the right. It’s better to adjust the spray pattern with the sprinkler on so that you know how much you want to increase or decrease it.
If you have a pop-up sprinkler with an adjustable tab on the top to adjust the spray pattern, you’ll find a ‘+’ and ‘–’ on the top with a screw in the center. Place a flat-headed screwdriver on the top of the head and twist it towards the ‘+’ sign to increase the spray pattern and towards the ‘–’ sign to decrease it.
How to Troubleshoot Your Rain Bird Sprinklers
You’re bound to have some problems with regular use of the sprinkler head. Luckily, it’s easy to solve most of these problems.
For instance, if your sprinkler head can’t reach the distance you expected, it could be because of the nozzle or filter and a good cleaning can solve the problem. However, if that doesn’t work, try reducing the number of sprinkler heads present in a zone or using a nozzle that has a larger radius.
If your sprinkler head isn’t producing enough water, you might need to clean both the nozzle and the screen. Meanwhile, if it fails to fully pop up from the ground, then you might need to clean the cap and stem or replace them both if cleaning doesn’t make a difference.
Similarly, if your sprinkler head fails to produce the right pattern, simply unscrew and flush the nozzle to get rid of the debris.
And if your sprinkler head leaks even after you’ve shut off the valve, that means there’s a blockage and you need to flush the piston or diaphragm. If that doesn’t work, get a check valve installed.

