Simply installing a sprinkler system is not enough to care for your lawn. Sometimes, you need to adjust a sprinkler head if you want your garden to thrive. This is because some parts of the lawn or plants might need more water than others.
Different kinds of sprinkler heads are adjusted in different ways. To adjust your model, follow the manufacturer‘s instructions to see what you need to do. You need to move the screw on top of the nozzle to increase or decrease the amount of water and the spray pattern.
Adjusting a sprinkler isn’t very difficult. Let’s go over the general steps involved in adjusting different kinds of sprinkler heads, why you might need to do so, and the tools you need. We’ll also look at how you can replace a broken sprinkler head.
To adjust your sprinkler head, you first need to understand the kind of sprinkler you have. Different sprinklers are adjusted differently and can be divided into gear-driven rotors, impact sprinklers, and pop-up sprinklers.
Rotor sprinklers rotate back and forth and only have a single water stream. As the name suggests, pop-up sprinklers pop up from the ground but don’t turn when spraying and have a circular spray. Meanwhile, impact sprinklers have a multi-trajectory stream and spray in different directions.
Next, assess the watering needs of your lawn and identify areas that need adjustments. For example, areas with withered or brown grass require more water, while swampy-looking areas need less water.
Then, get the right tools (depending on the kind of sprinkler you have). Finally, you can start adjusting the sprinkler head with all these out of the way.
Rotor Sprinkler Head
When it comes to a rotor sprinkler, you might need to adjust the spray arc and radius. These sprinklers are held in place with a set screw. The instructions to adjust these vary from manufacturer to manufacturer, so you’ll need to go through the guidelines to know exactly what to do. But in general, you can expect the following steps:
Switch the irrigation system on and get behind the sprinkler you want to adjust so you can’t look at it directly. Otherwise, the water pressure that might come out at first can hurt you.
Turn the spray head to the left to complete the ongoing cycle.
Apply pressure at the top and turn the head to the extreme right until it stops spraying. This will help you find the right stop point.
Find the + and – signs present at the top. Besides these, you’ll find a keyhole.
Take a rotor adjustment tool and put the key end into the keyhole.
Turn the key while holding the rotor head at the right stop. Next, turn it to the right to reduce the arc and to the left to increase it. Remove the key when you’re satisfied with the adjustments.
Let the head rotate. Observe the water flow to see if the spray distance and arc adjustment meet your lawn’s needs. If not, repeat the steps above until you’re satisfied.
Pop-Up Sprinkler Head
Pop-up sprinkler heads must be adjusted while the sprinkler is working. Before you start, check the kind of spray nozzle present on the head.
You can’t adjust a fixed spray nozzle. In other words, you can’t change an 8-feet quarter pattern nozzle to spray differently. In this case, you can adjust the arc only by replacing the nozzle.
But if you have a variable arc spray nozzle, things get easier. Find the small screw on top of the nozzle and use a flat-headed screwdriver to move the screw. Rotate it counterclockwise to increase the spray pattern’s width and counterclockwise to decrease it. Then, adjust the stem to set the arc position.
Impact Sprinkler Head
To adjust a sprinkler head, here’s what you’ll have to do:
First, move the hose faucet clockwise to increase the water flow and anticlockwise to decrease it.
To reduce the distance the sprinkler can cover, rotate the diffuser pin clockwise until it’s right over the water nozzle, and to increase the distance, turn the pin anticlockwise. (The diffuser pin is the large screw present at the base of the head).
To reduce the arc for watering grass and plants nearby, move the deflector shield downward and raise it to increase the arc.
For the spray pattern, adjust the friction collars. Move the metal clamps at the base of the head into different positions to adjust the sprinkler’s movement. Move them closer to narrow down the watering range.
If you want full 360-degree coverage, lift the trip pin and set it against the head. Doing so will send the water in a radial motion.
Some impact sprinklers have a dedicated dial for setting the spray distance. If you can find this dial on your model, turn it to the left to reduce the force with which the stream comes out, or turn it to the right to increase the pressure, so the stream goes further.
Stationary Sprinkler Head
In the case of a stationary sprinkler, first, find the radius adjustment screw present over the nozzle. You might also need to adjust the water spray to direct the water to your lawn.
If there’s too much water shooting out of the head or the water pressure is too much, simply rotate the screw clockwise to reduce it or vice versa.
Why Would You Need to Adjust a Sprinkler Head?
You might need to adjust the sprinkler head for a few different reasons. For instance, other parts of your lawn might require different amounts of water. So a part of the yard that gets direct sunlight will need more water than a shaded part of the lawn.
Similarly, some parts of your lawn might not drain too well, so they won’t need a lot of water. However, adjusting the sprinkler heads can ensure that all the different parts of your yard or lawn get the right amount of water.
You might also have to adjust the sprinkler head when the weather changes. For instance, if it gets too hot, you’ll have to increase the amount of water and adjust the spray pattern so that your lawn gets sufficient water and doesn’t dry out.
What Tools Do You Need to Adjust a Sprinkler Head?
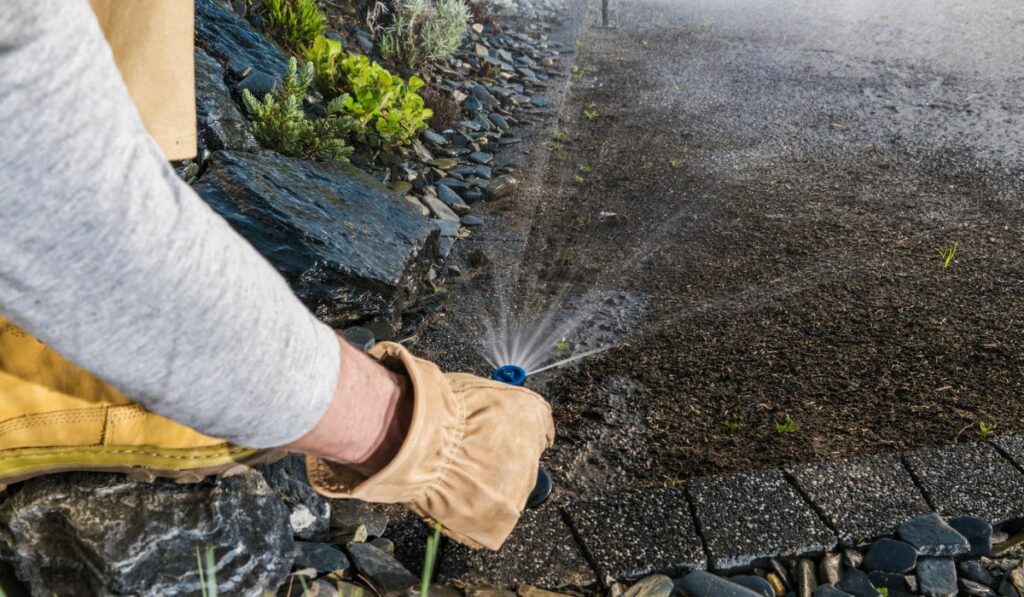
You’ll need different tools depending on the kind of spray head you have. For instance, you’ll need a rotor nozzle adjustment tool for rotor sprinklers, a flathead screwdriver for pop-up sprinklers, and an adjustment ring for impact sprinklers. Getting safety equipment like gloves and goggles is also better for you not to hurt yourself.
To know all the tools you need, simply go through the instructions provided by the manufacturer. Most manufacturers, like Rain Bird and Hunter, also usually sell adjustment tools ideal for their sprinklers, so check those out.
How Do You Replace a Broken Sprinkler Head?
Sprinkler heads often face a few problems, with the most common one being damage. But before buying a replacement head, ensure you get the right one. A wrong one will lead to uneven water distribution, so make sure you don’t use a Hunter head for a Rain Bird sprinkler.
So before purchasing a replacement, identify the kind of sprinkler head you require, the manufacturer and model, and the nozzle’s size. Remember that rotor head sprinklers can either rotate 360 degrees or 120 degrees, and you need to get one that moves in the correct direction.
The price range for the sprinkler head varies according to the type. For instance, stationary sprinkler heads cost $2-$15, while rotor sprinkler heads cost $5-$20. Pop-up sprinkler heads are priced at $2-$10, and impact sprinkler heads range from $10-$20.
Steps for Replacing a Broken Sprinkler Head
Once you have the tools and the correct replacement head, turn off the water and follow these steps:
Dig up a 2-inch ring around the sprinkler and remove the sod and dirt.
Rotate the sprinkler head counterclockwise.
Thread the new head on the steam by screwing it gently.
Fill the ring back with sod and dirt.
Lift the cap and thread the nozzle on the stem.
Switch on the water source to make sure it’s working correctly.